From swatch to finished garment
How to make an alpaca sweater
An alpaca sweater begins with a pattern, yarn, and gauge that work together. Careful measurements and a washed swatch help account for alpaca's warmth and drape before the body and sleeves are knitted.
Define the project
Choose a sweater pattern
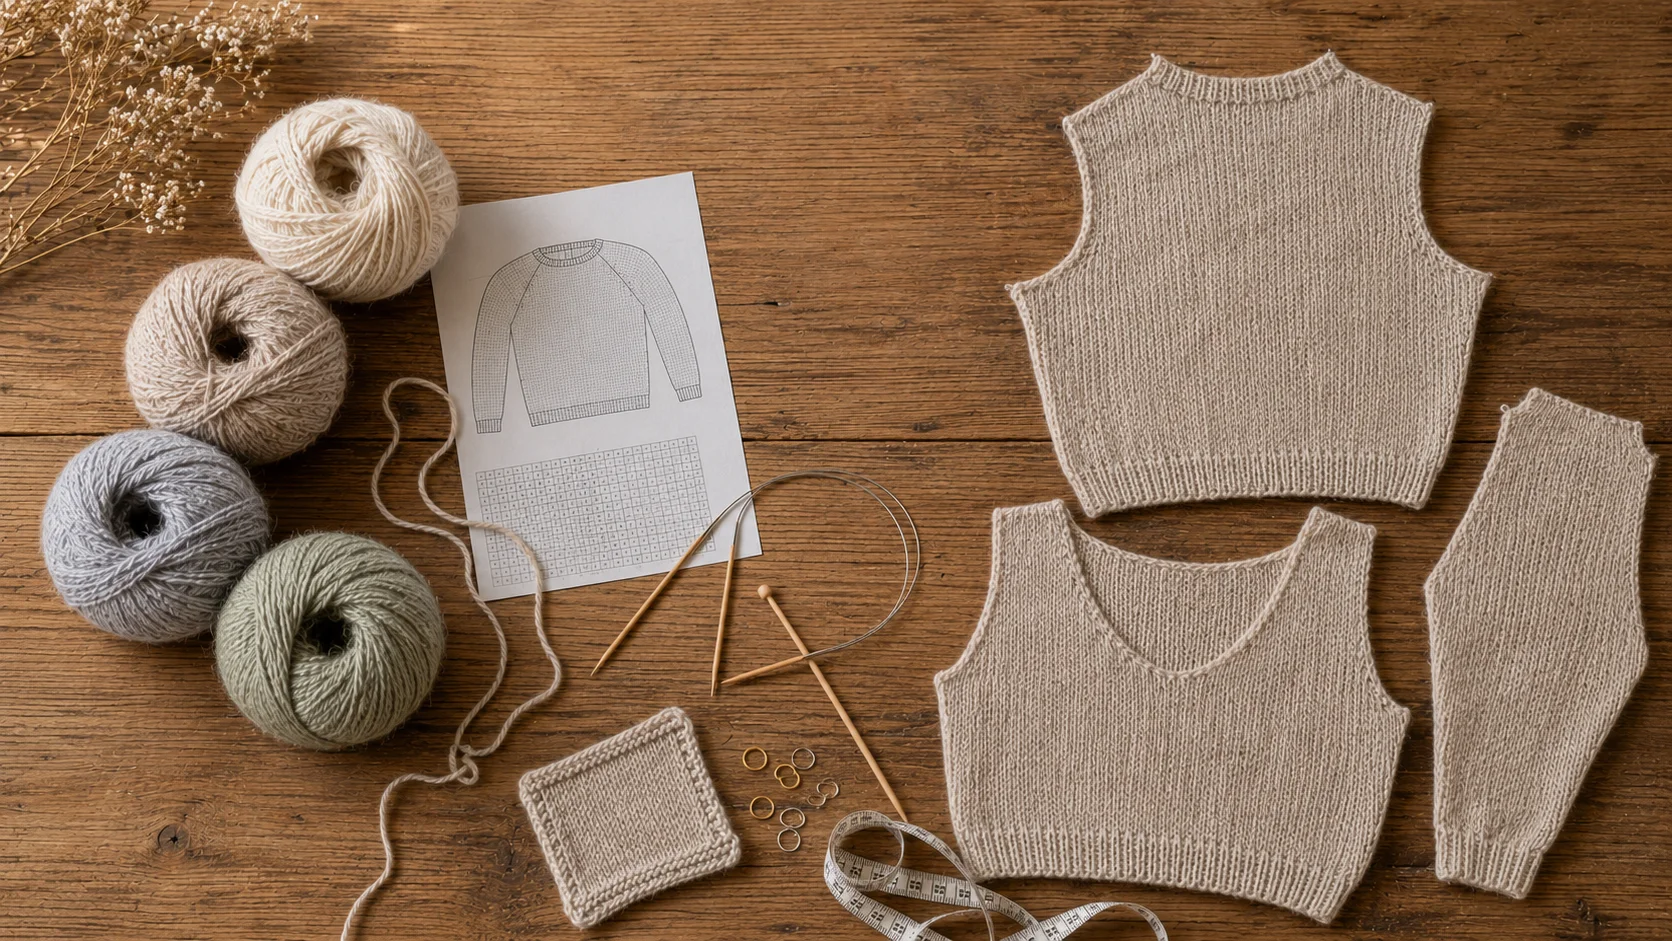
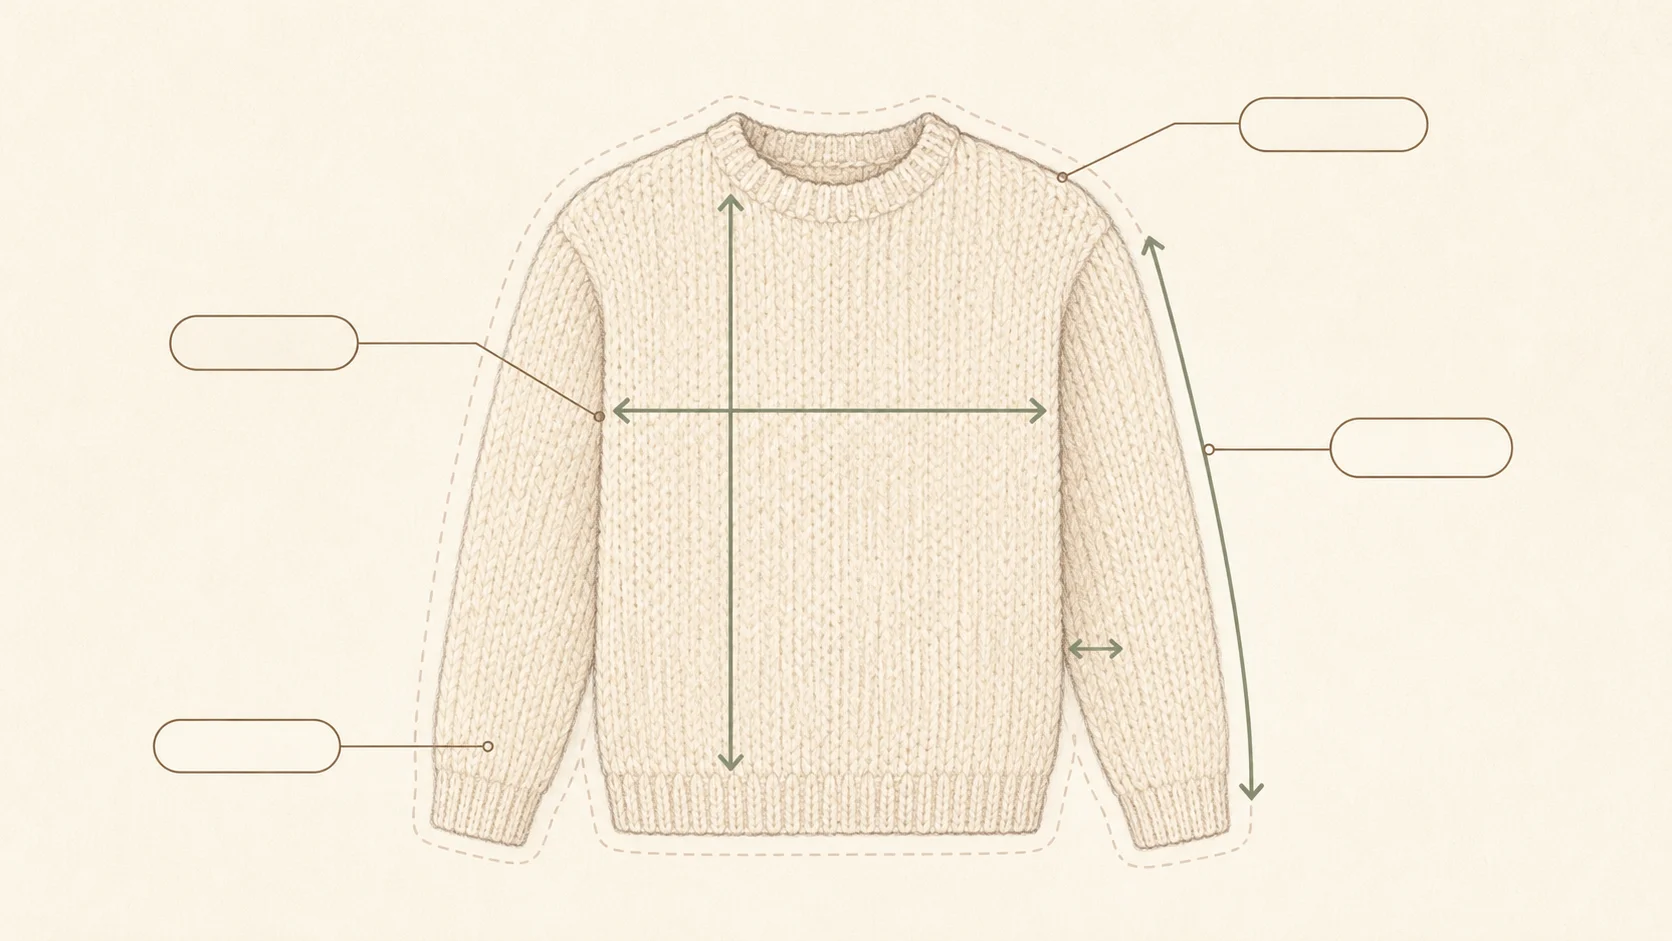
Select the pattern before purchasing yarn. It establishes the yarn weight, required gauge, approximate yardage, construction method, sizes, shaping, and finishing steps. A sweater pattern should also provide a schematic showing the finished chest, body length, sleeve length, and other important measurements.
For a first sweater, look for straightforward shaping and instructions that clearly explain where measurements are taken. A plain stockinette or simple textured design makes it easier to check stitch counts and identify mistakes. Cables, lace, colorwork, fitted shaping, and complex necklines add decisions that may be easier after completing a simpler garment.
Read the entire pattern before beginning. Check whether the sweater is knitted in pieces or as a largely seamless garment, whether stitches must be picked up later, and whether techniques such as short rows, increases, decreases, button bands, or seaming are required.
- Finished garment measurements and sizes
- Yarn weight, yardage, and gauge
- Pieced, top-down, or bottom-up construction
- Shaping and finishing techniques
- Needles, fasteners, and other notions
Balance warmth and structure
Choose alpaca sweater yarn
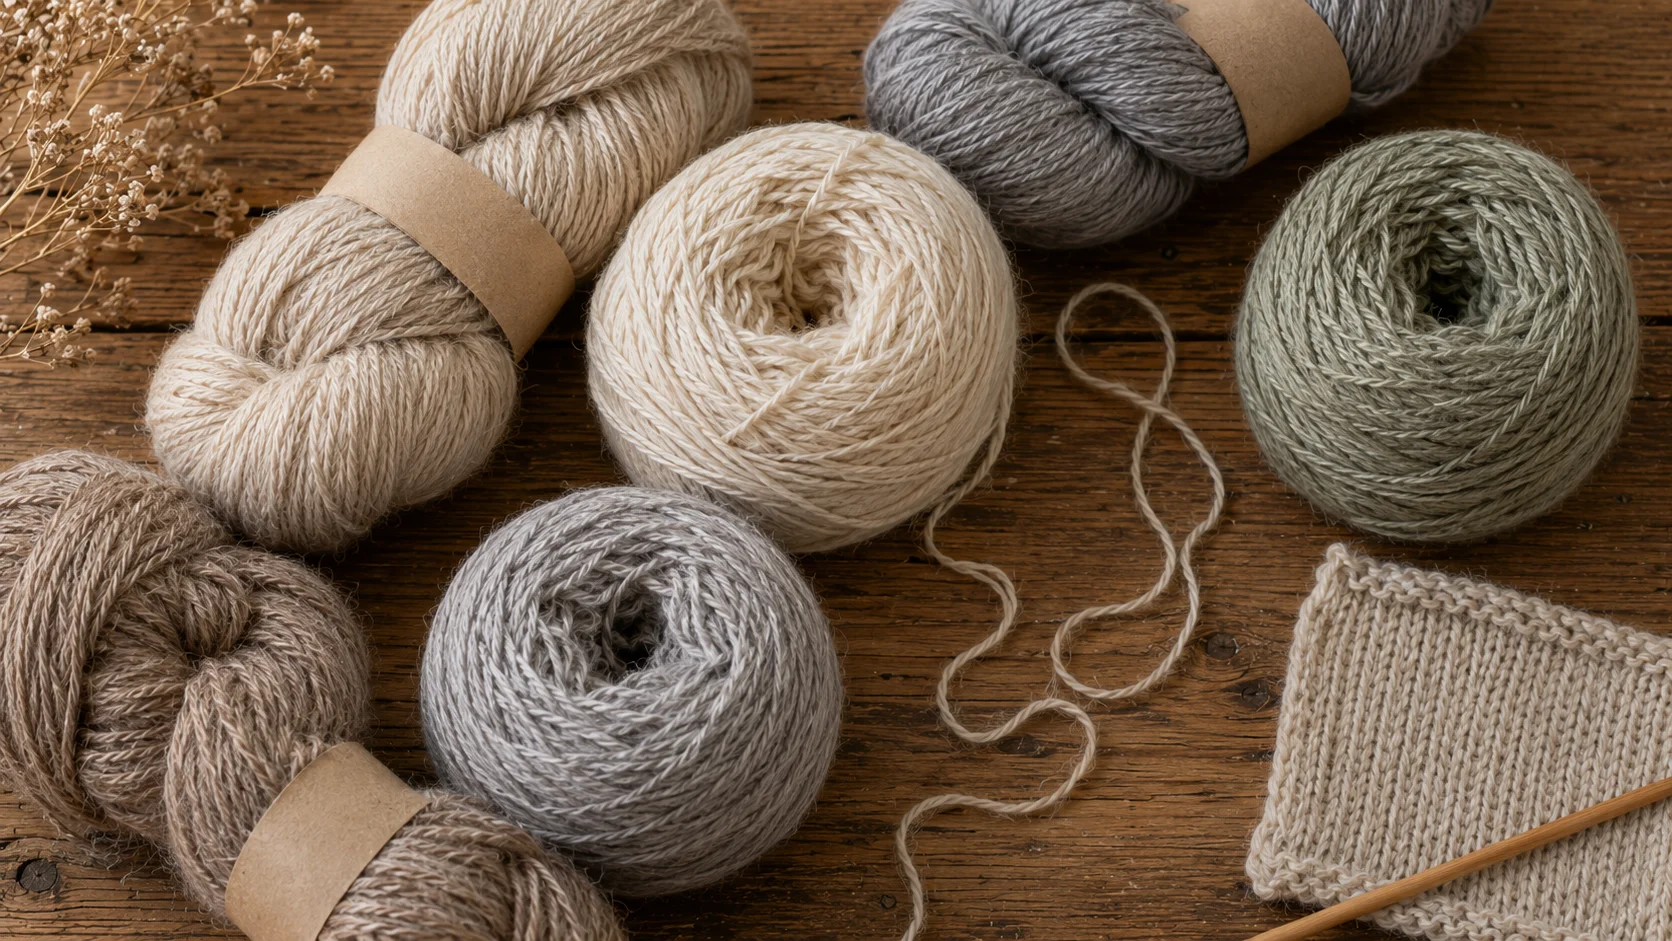
Begin with the yarn weight and gauge specified by the pattern. Substituting a yarn of the same general weight does not guarantee the same fabric, because fiber content, twist, ply, and density can all change the way a sweater hangs and stretches. Compare the label information and make a large swatch before committing to the full garment.
Pure alpaca can create a soft, warm fabric with fluid drape, but a large garment may relax under its own weight and may not readily return to its original shape. Blending alpaca with wool can add elasticity and memory. Other fibers may be included to change strength, texture, weight, or care requirements. The appropriate blend depends on whether the pattern needs a flowing fabric or firmer structure.
Consider the total weight of the finished sweater as well as the thickness of the yarn. A dense sweater made from heavy alpaca yarn can become warmer and heavier than expected. Buy the full amount from one dye lot when possible, and retain the labels until the sweater has been completed and washed.
How the garment is assembled
Choose a construction method
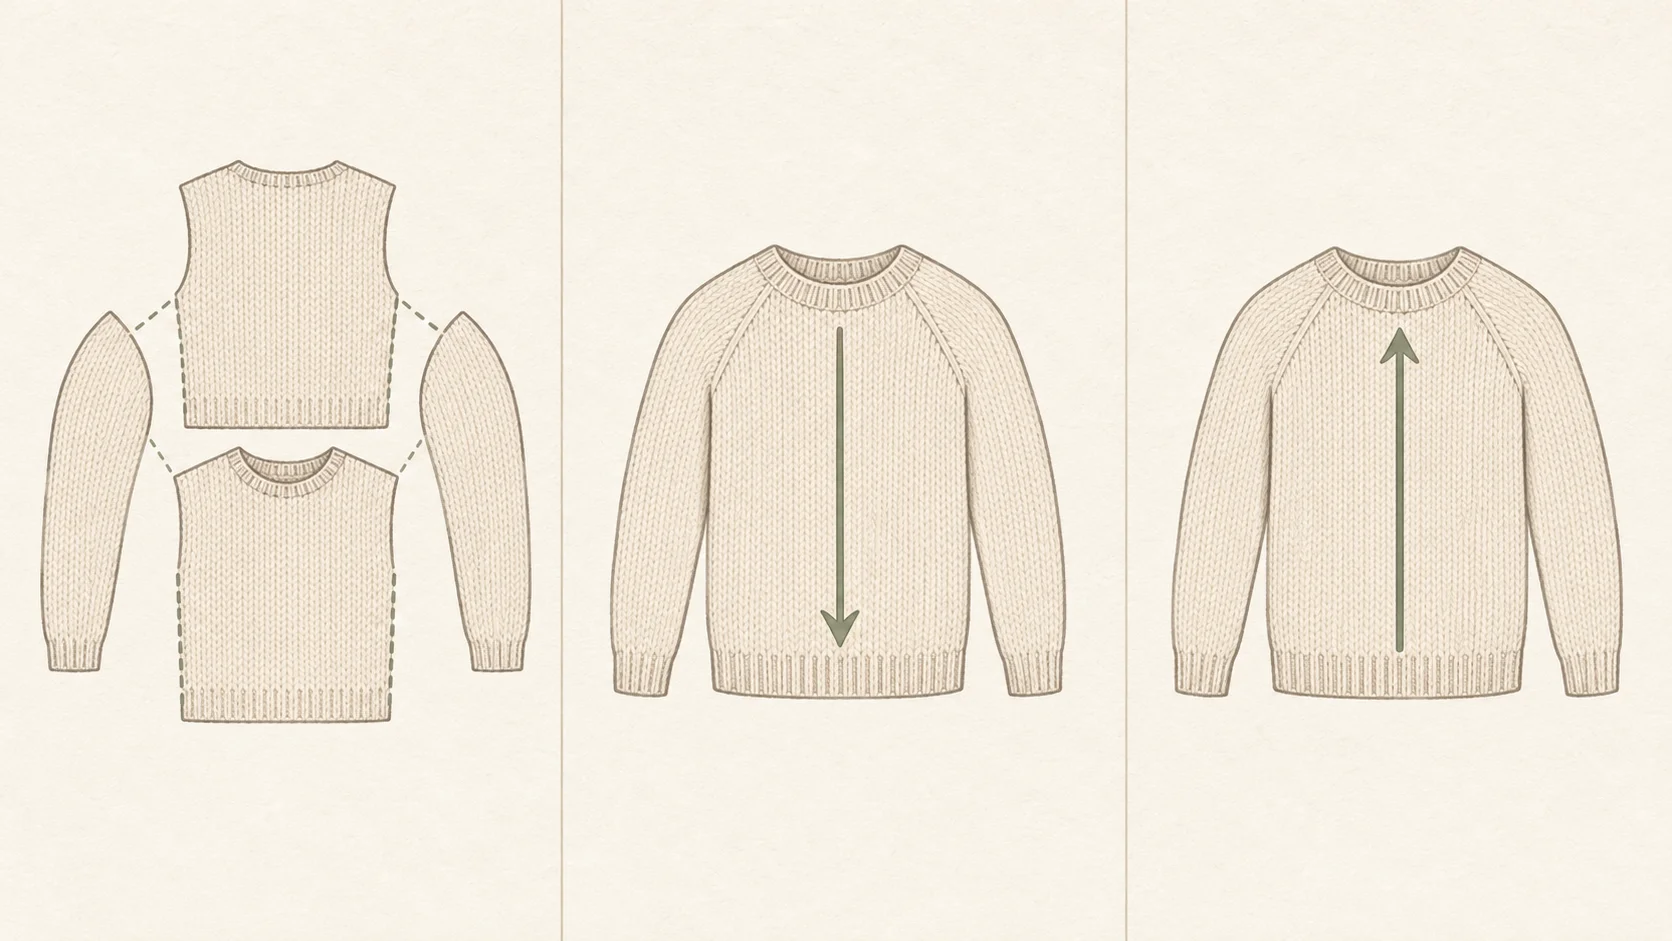
A pieced sweater is knitted as separate body panels and sleeves that are sewn together. The seams add structure, which can be useful for a draping fiber, and individual pieces are relatively easy to measure while knitting. Finishing takes longer because the pieces must be blocked and joined carefully.
A top-down sweater begins at the neck or shoulders and proceeds toward the lower body. Sleeves may be worked from held or picked-up stitches. This construction often allows the sweater to be tried on while it is being made, although the growing garment can become bulky on the needles.
A bottom-up sweater begins at the lower edge. The body and sleeves may be knitted separately and joined near the underarms, or the work may remain in pieces until seaming. The construction shown by the pattern affects when fit can be checked and how easily the garment can be altered, so use instructions written for the intended method rather than converting them during a first project.
Test the finished fabric
Knit and wash a gauge swatch
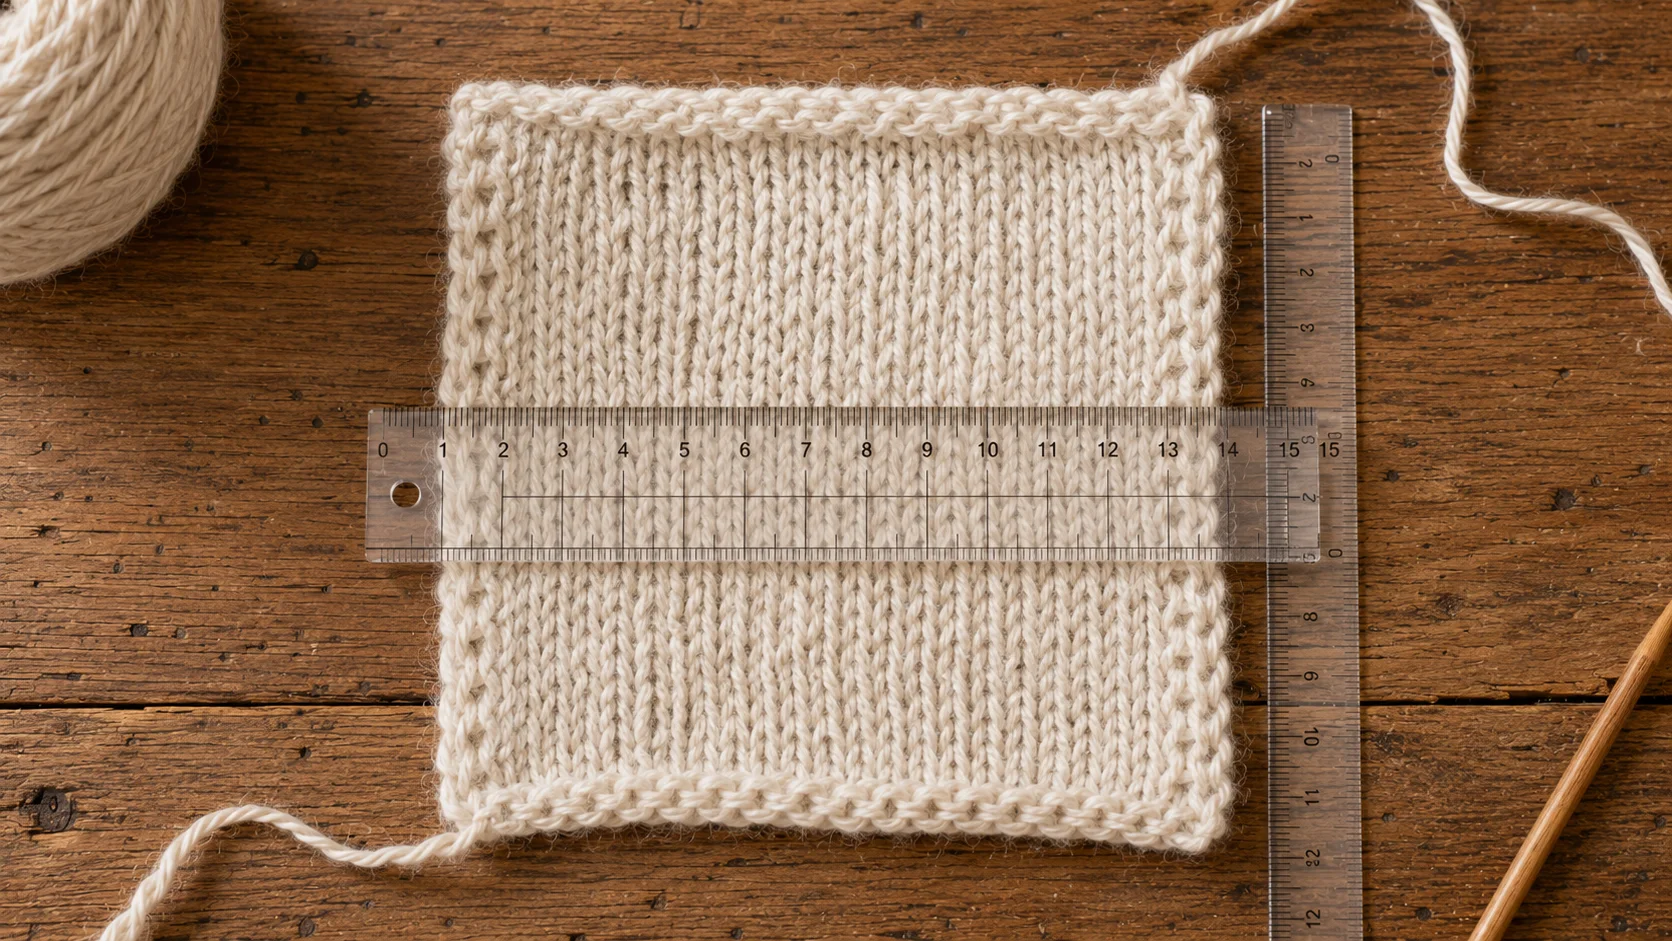
Gauge determines the finished dimensions of a sweater. Even a small difference across a few inches can become a substantial difference when repeated across the full body. Use the stitch pattern and knitting direction specified for the pattern's gauge measurement, and make the swatch larger than the area that will be measured.
Wash and dry the swatch according to the yarn's care instructions before measuring it. Alpaca fabric can relax after washing, so an unwashed measurement may not predict the finished sweater accurately. Measure stitches and rows across the undisturbed center of the swatch rather than along its edges.
If there are too few stitches within the specified width, try a smaller needle. If there are too many, try a larger needle. Row gauge may also affect sleeve, armhole, neckline, or raglan shaping. When exact row gauge cannot be obtained, determine whether the pattern provides measurements that can be followed instead of relying only on row counts.
Select the finished size
Measure for fit and ease
Take body measurements over the clothing that will normally be worn beneath the sweater. The chest or bust measurement is the main starting point, but body length, shoulder width, armhole depth, upper-arm circumference, sleeve length, and preferred cuff position may also affect the size or adjustments selected.
Ease is the difference between the body measurement and the finished garment measurement. Positive ease creates additional room, zero ease produces a close fit, and negative ease makes the garment smaller than the body measurement so the fabric must stretch. Use the amount recommended by the pattern because fabric thickness, structure, and intended style affect how ease feels.
Compare the schematic with a well-fitting sweater as well as with body measurements. This can reveal whether the selected size will provide the desired body and sleeve length. Avoid choosing a size solely by a label such as small, medium, or large, since finished dimensions differ among patterns.
Work through the pattern
Knit the body and sleeves
Cast on the stitch count for the selected size using the method specified by the pattern. Check the cast-on edge before proceeding, especially when joining stitches to work in the round. Place markers carefully and record the needle size, size being made, and any planned adjustments.
Measure the work at the points identified in the schematic. Do not rely only on row counts when the pattern also provides a required length, particularly if row gauge differs slightly. Count shaping increases and decreases as they are completed, and compare matching pieces or sleeves frequently so differences are found early.
When working a seamless sweater, the garment may be tried on if the construction and needles allow it. Keep in mind that the unfinished fabric has not yet been washed and may behave differently afterward. A pieced sweater should be compared with the schematic and the washed gauge swatch until the pieces can be blocked and assembled.
Shape and assemble
Finish the sweater
Wash or dampen the completed pieces as directed and arrange them to the measurements shown in the pattern. Blocking evens the fabric and prepares edges for assembly, but alpaca should not be stretched beyond the intended dimensions. Allow every piece to dry completely before seaming.
Sew seams with consistent tension so they support the garment without puckering. Add neckbands, button bands, collars, or other finishing elements in the order given by the pattern. Weave in ends securely, attach buttons or fasteners, and make a final comparison with the schematic.
Store the sweater clean, dry, and folded rather than leaving its weight on a hanger for long periods. Keep the yarn label and a small amount of leftover yarn for future repairs. Follow the care method tested on the swatch whenever the sweater is washed.