Planning a knitted pullover
How to make an alpaca jumper
An alpaca jumper is a knitted pullover without a front opening. Its comfort and shape depend on the yarn, shoulder construction, neckline, gauge, and amount of ease selected before knitting begins.
Define the pullover
Choose a jumper pattern
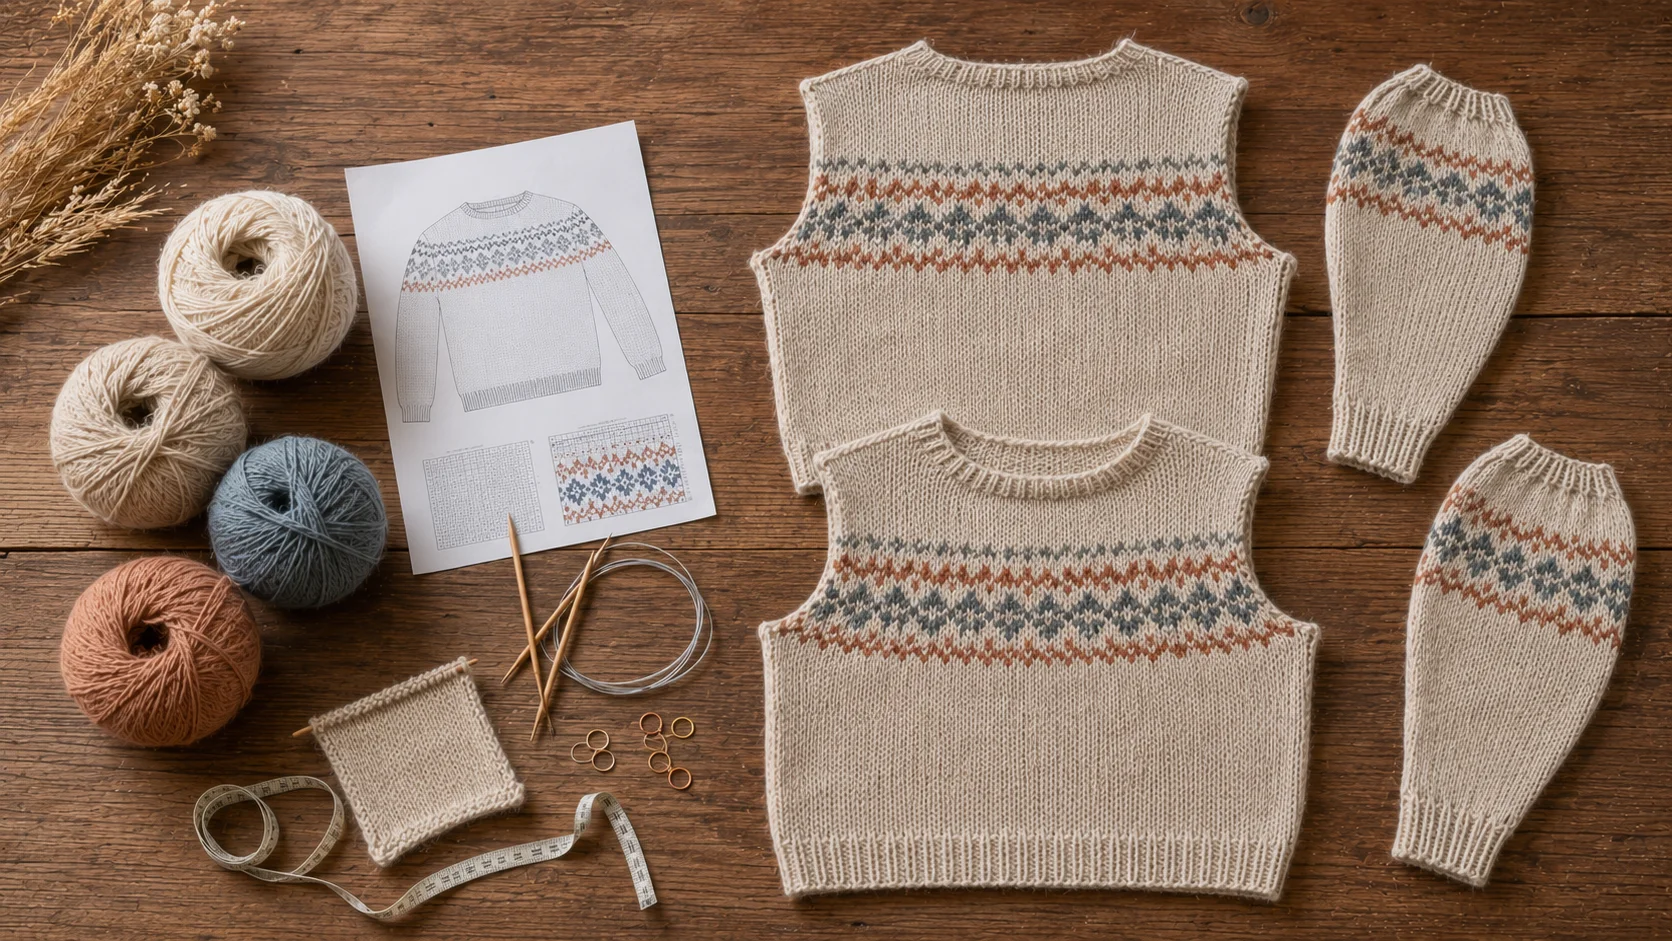
Select a pattern before buying yarn. The pattern determines the yarn weight, gauge, yardage, finished measurements, shoulder construction, neckline, and required techniques. It should include a schematic that shows the chest, body length, sleeve length, shoulder or yoke measurements, and neck opening.
For a first jumper, choose a pattern with straightforward shaping and a clearly explained neckline. A simple single-color fabric is easier to measure and correct than detailed cables, lace, or stranded colorwork. Color and patterning can be added successfully, but they may affect gauge and can make it harder to alter the fit while knitting.
Read the complete pattern before beginning. Determine whether it is knitted in pieces, from the top down, or from the bottom up; whether the sleeves are worked separately or picked up; and when the neckline is formed. Check every abbreviation and unfamiliar technique before casting on.
- Finished sizes and recommended ease
- Yarn weight, yardage, and gauge
- Shoulder and sleeve construction
- Neckline style and finishing
- Needles and required notions
Warmth, drape, and structure
Choose alpaca jumper yarn
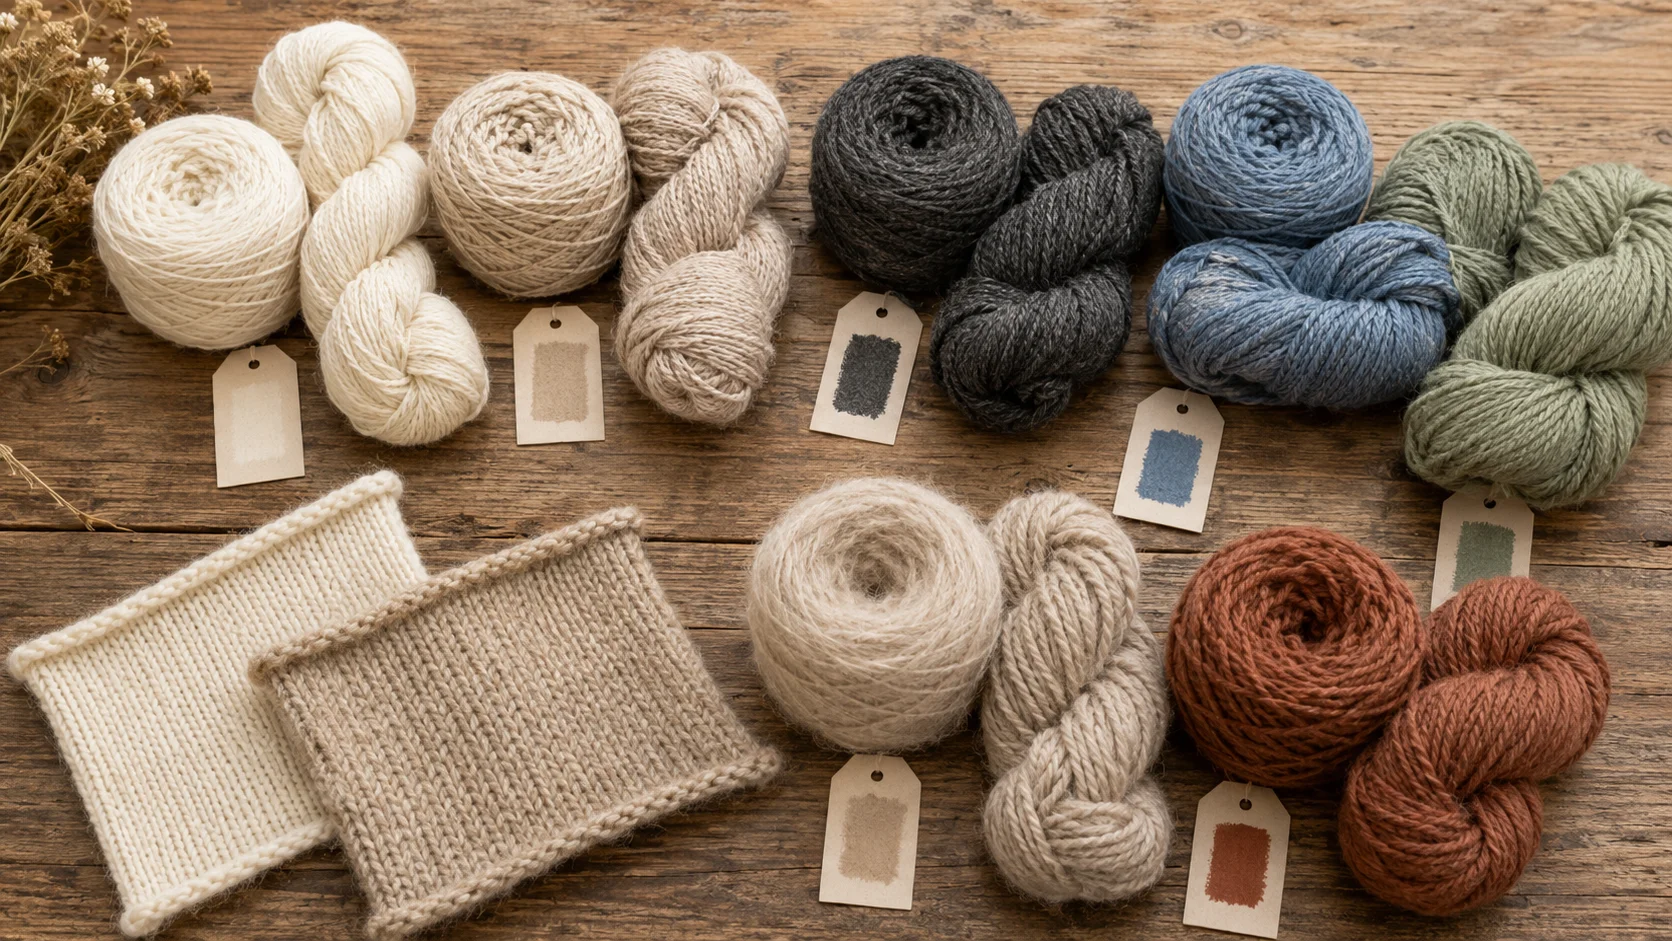
Match the yarn weight and required gauge shown in the pattern. Yarns classified at the same weight can still produce different fabrics because fiber content, twist, ply, and density affect how the stitches behave. A large washed swatch is the most reliable way to judge whether a substitute yarn suits the pattern.
Pure alpaca can produce a soft, warm pullover with fluid drape, but a large garment may relax under its own weight. A blend containing wool can add elasticity and help ribbing, cuffs, and neckbands recover after stretching. The amount of structure needed depends on the shoulder shape, stitch pattern, and intended fit.
Consider whether the jumper will be worn directly over a shirt, layered over other clothing, or used mainly for warmth outdoors. Fine yarn can create a lighter pullover, while heavier yarn produces a thicker fabric that may become warmer and weightier than expected. Natural yarn can also reflect the cream, fawn, brown, gray, and black fleece colors found among alpacas. Purchase the required yardage from one dye lot when possible.
Shape the upper body
Choose the shoulder construction
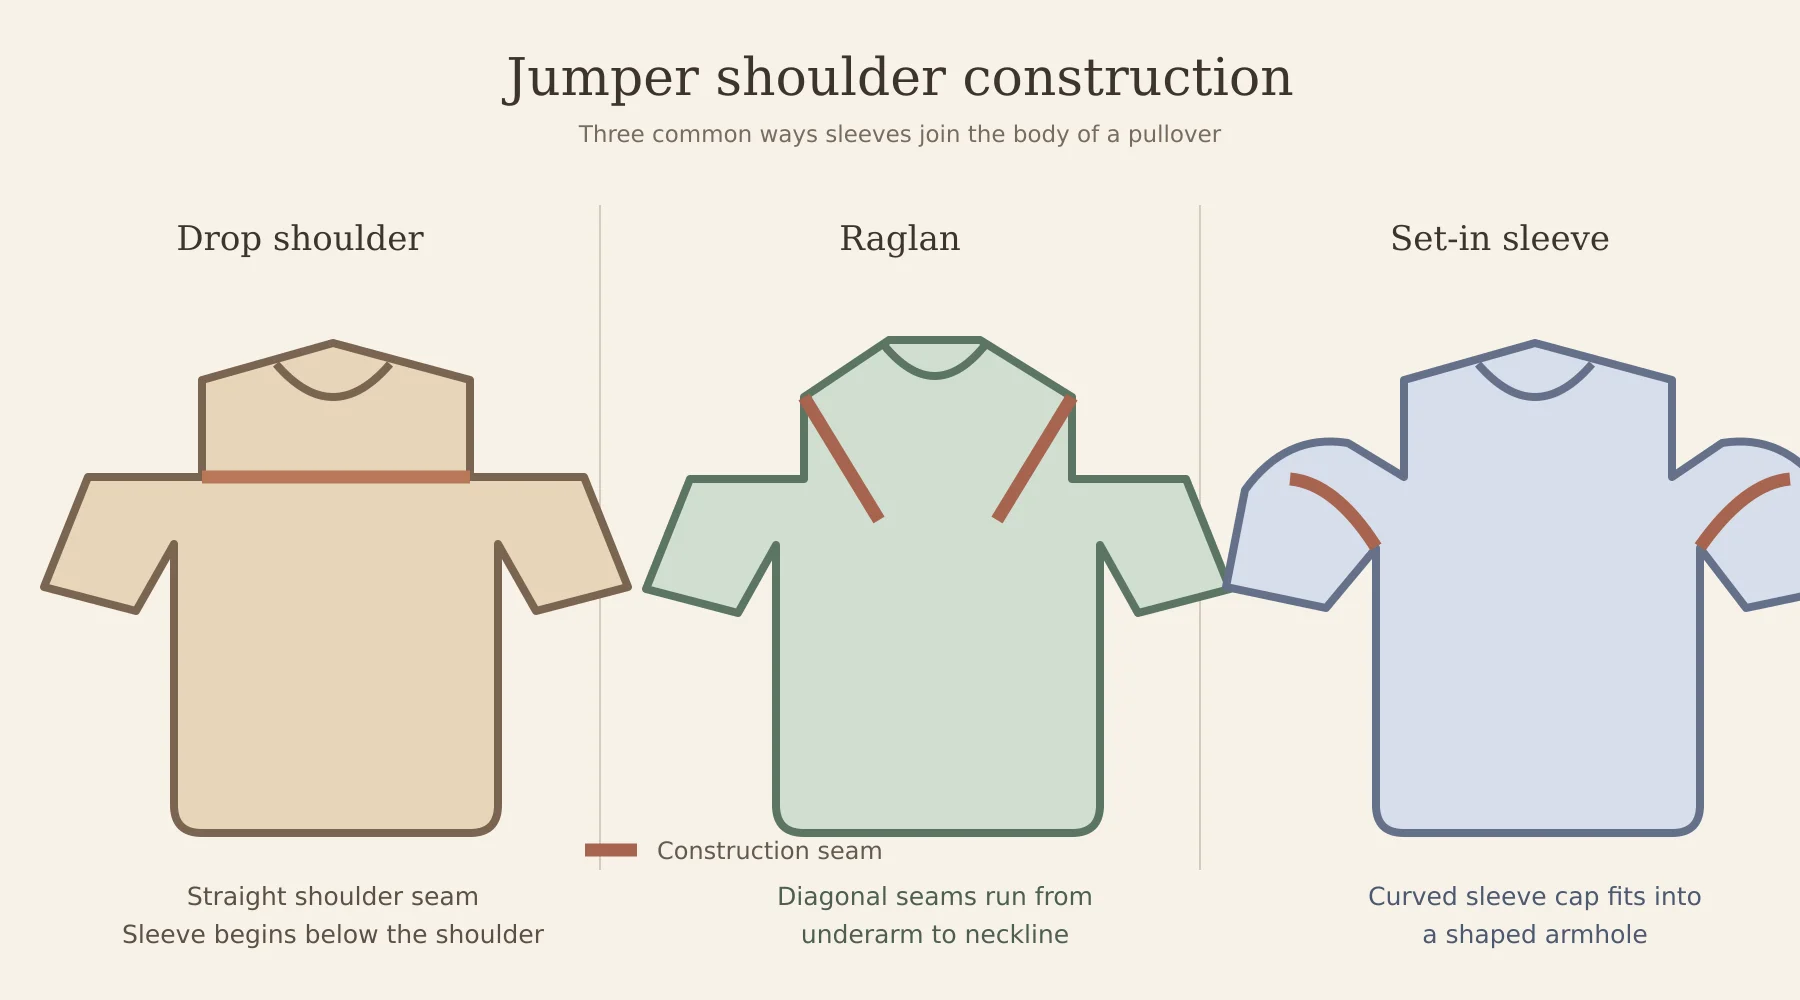
A drop-shoulder jumper uses a relatively straight body with sleeves attached below the natural shoulder. It is simple to construct and creates a relaxed silhouette, although the extra fabric around the upper arm can feel bulky when made from thick yarn.
A raglan jumper uses diagonal shaping from the neckline or underarm toward the body. The construction can provide comfortable movement and is commonly worked as part of a seamless yoke. The depth and rate of the raglan shaping affect both chest fit and upper-arm room.
A set-in sleeve follows a shaped armhole and has a curved sleeve cap. It can create a more tailored shoulder line, but the measurements and shaping require greater precision. Set-in sleeves are often sewn into place after the body and sleeves have been completed and blocked.
Plan the opening and finish
Choose the neckline
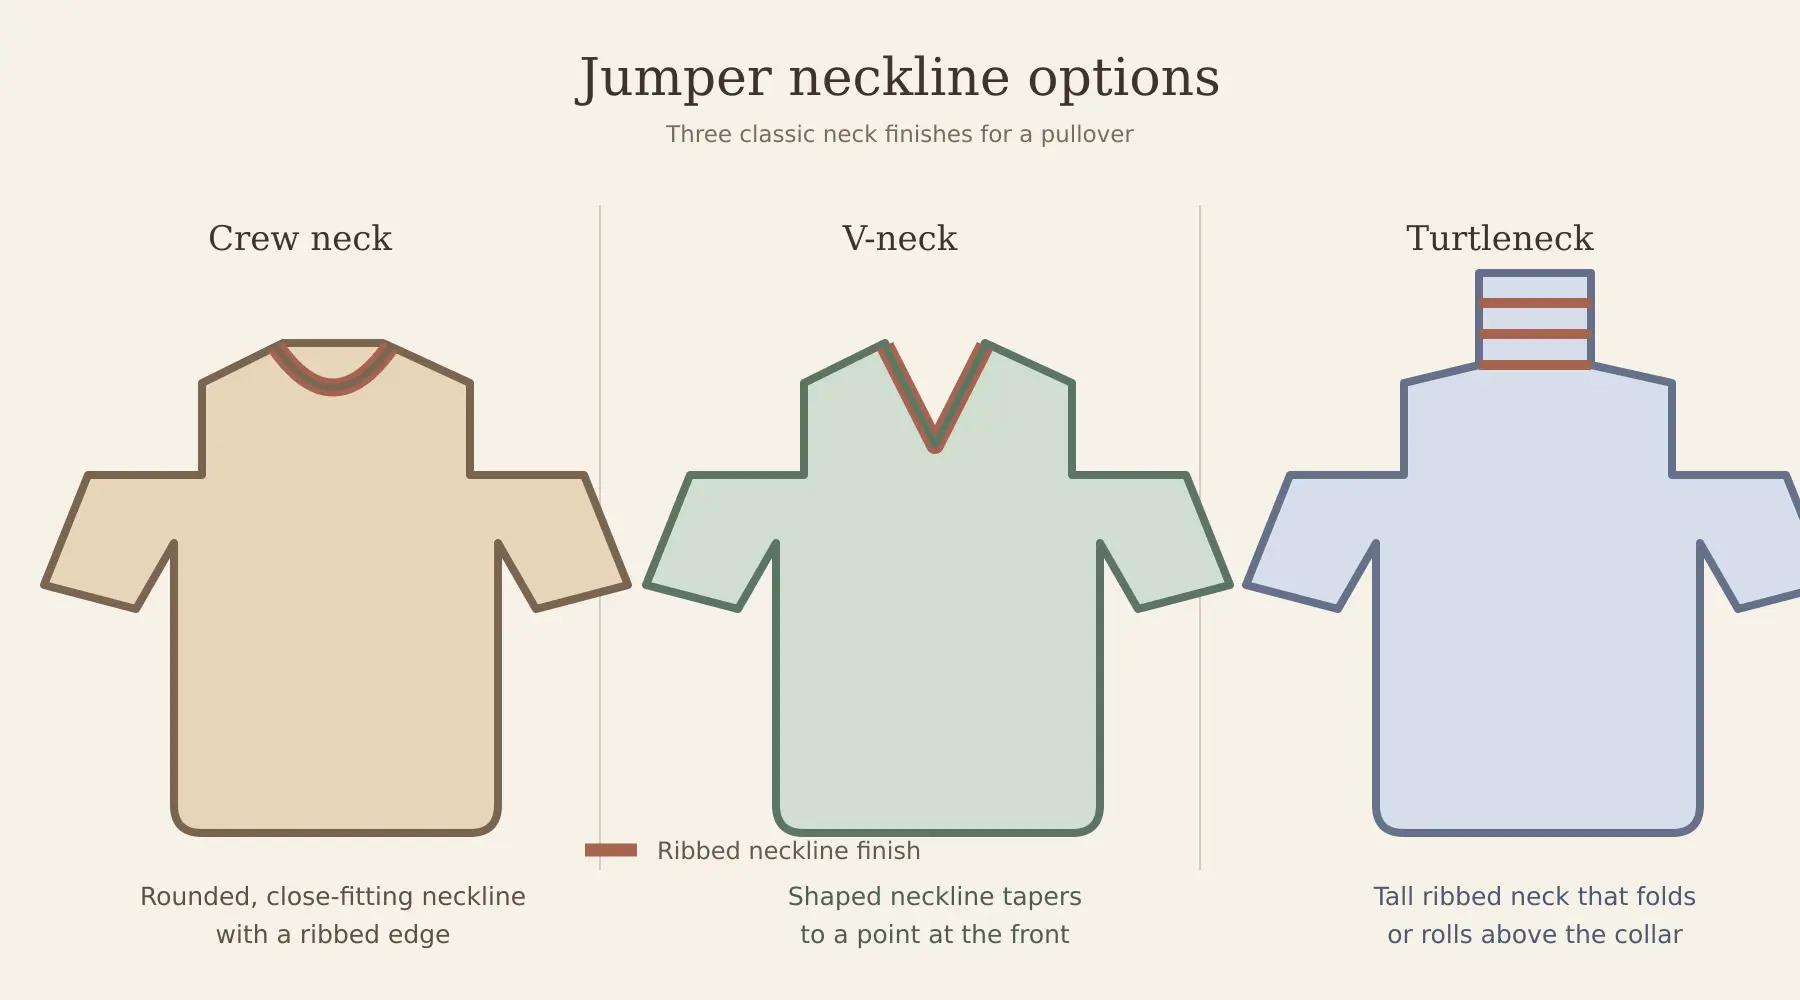
A crew neck forms a rounded opening close to the base of the neck. It is commonly finished with ribbing that stretches when the jumper is pulled over the head and then returns to shape. The opening must be large and elastic enough to pass comfortably over the wearer's head.
A V-neck uses paired decreases to form a point at the front. The neckband must be shaped neatly at the base of the V, and the depth should be checked against the schematic. A turtleneck or roll neck extends upward and uses more yarn, adds warmth, and places additional importance on elasticity.
Follow the pattern's pickup rate and needle size when adding a separate neckband. Picking up too many stitches can make the band flare, while too few can draw the neckline inward. Alpaca blends with good recovery are particularly useful where the neckband must stretch repeatedly.
Test the intended fabric
Knit and wash a gauge swatch
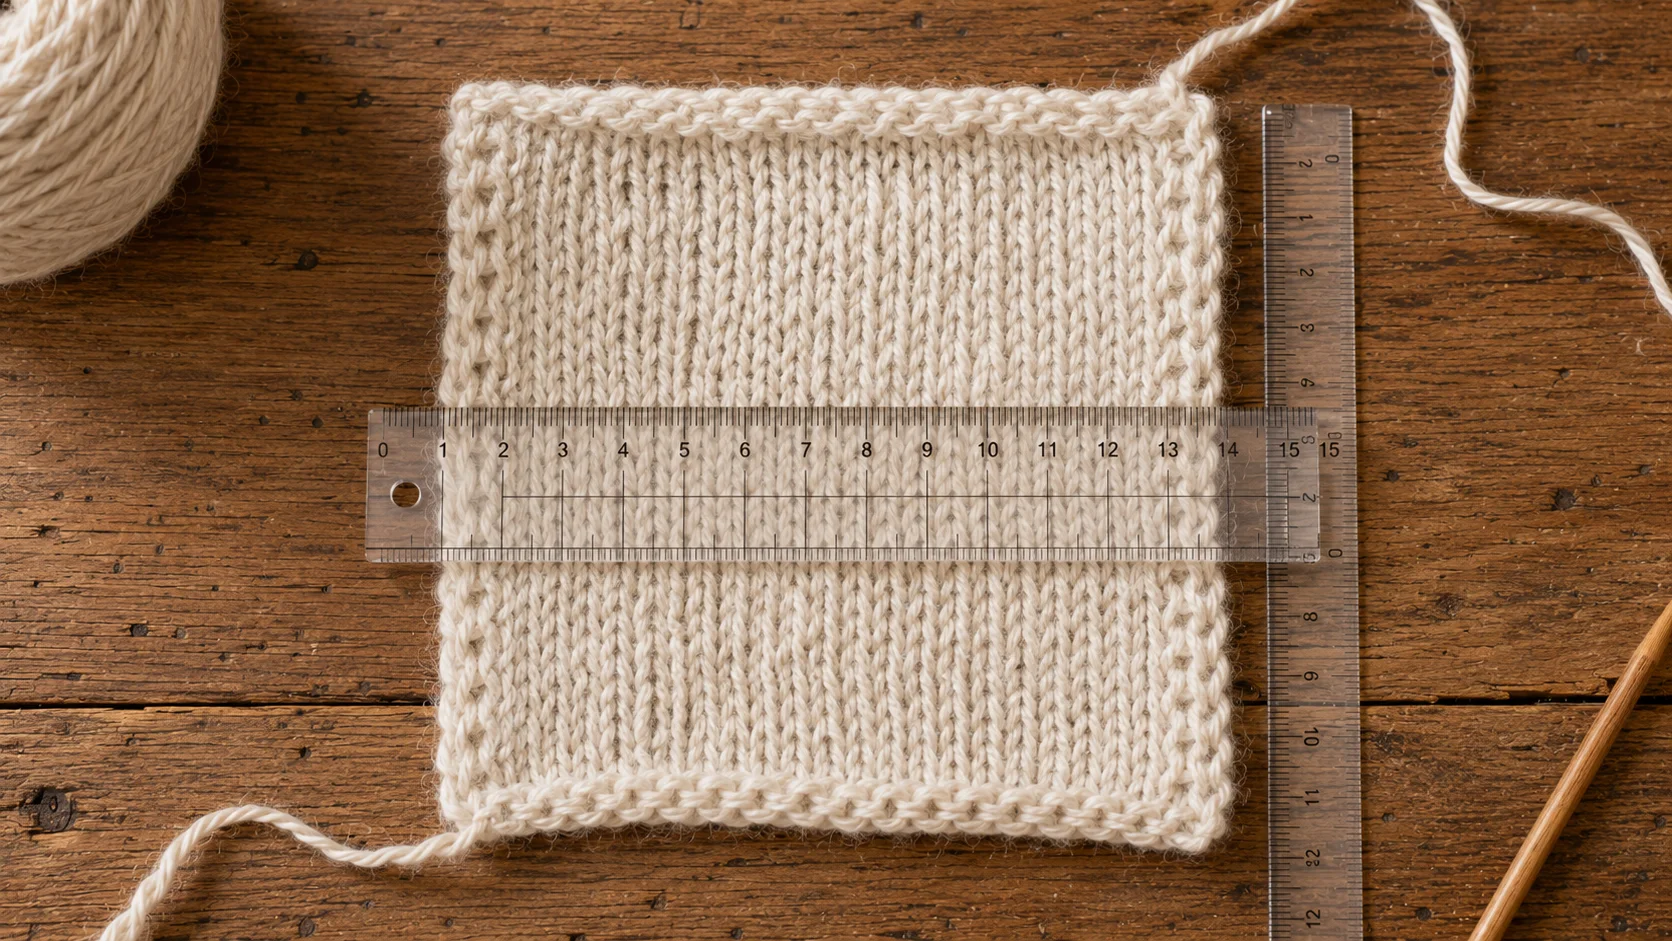
Gauge determines the finished size of the jumper. Make a swatch larger than the area to be measured, using the yarn, needles, colors, and stitch pattern intended for the garment. If the body is worked in the round, a swatch made in the round gives a more representative result.
Wash and dry the swatch according to the yarn label before measuring it. Alpaca fabric may relax after washing, and colorwork, cables, or textured stitches may behave differently from plain stockinette. Measure across the undisturbed center of the swatch rather than near the cast-on edge or sides.
If there are too few stitches within the specified width, try a smaller needle. If there are too many, try a larger needle. Check row gauge as well because it can affect raglan depth, armholes, neckline shaping, and sleeve caps.
Select the finished dimensions
Measure for fit and ease
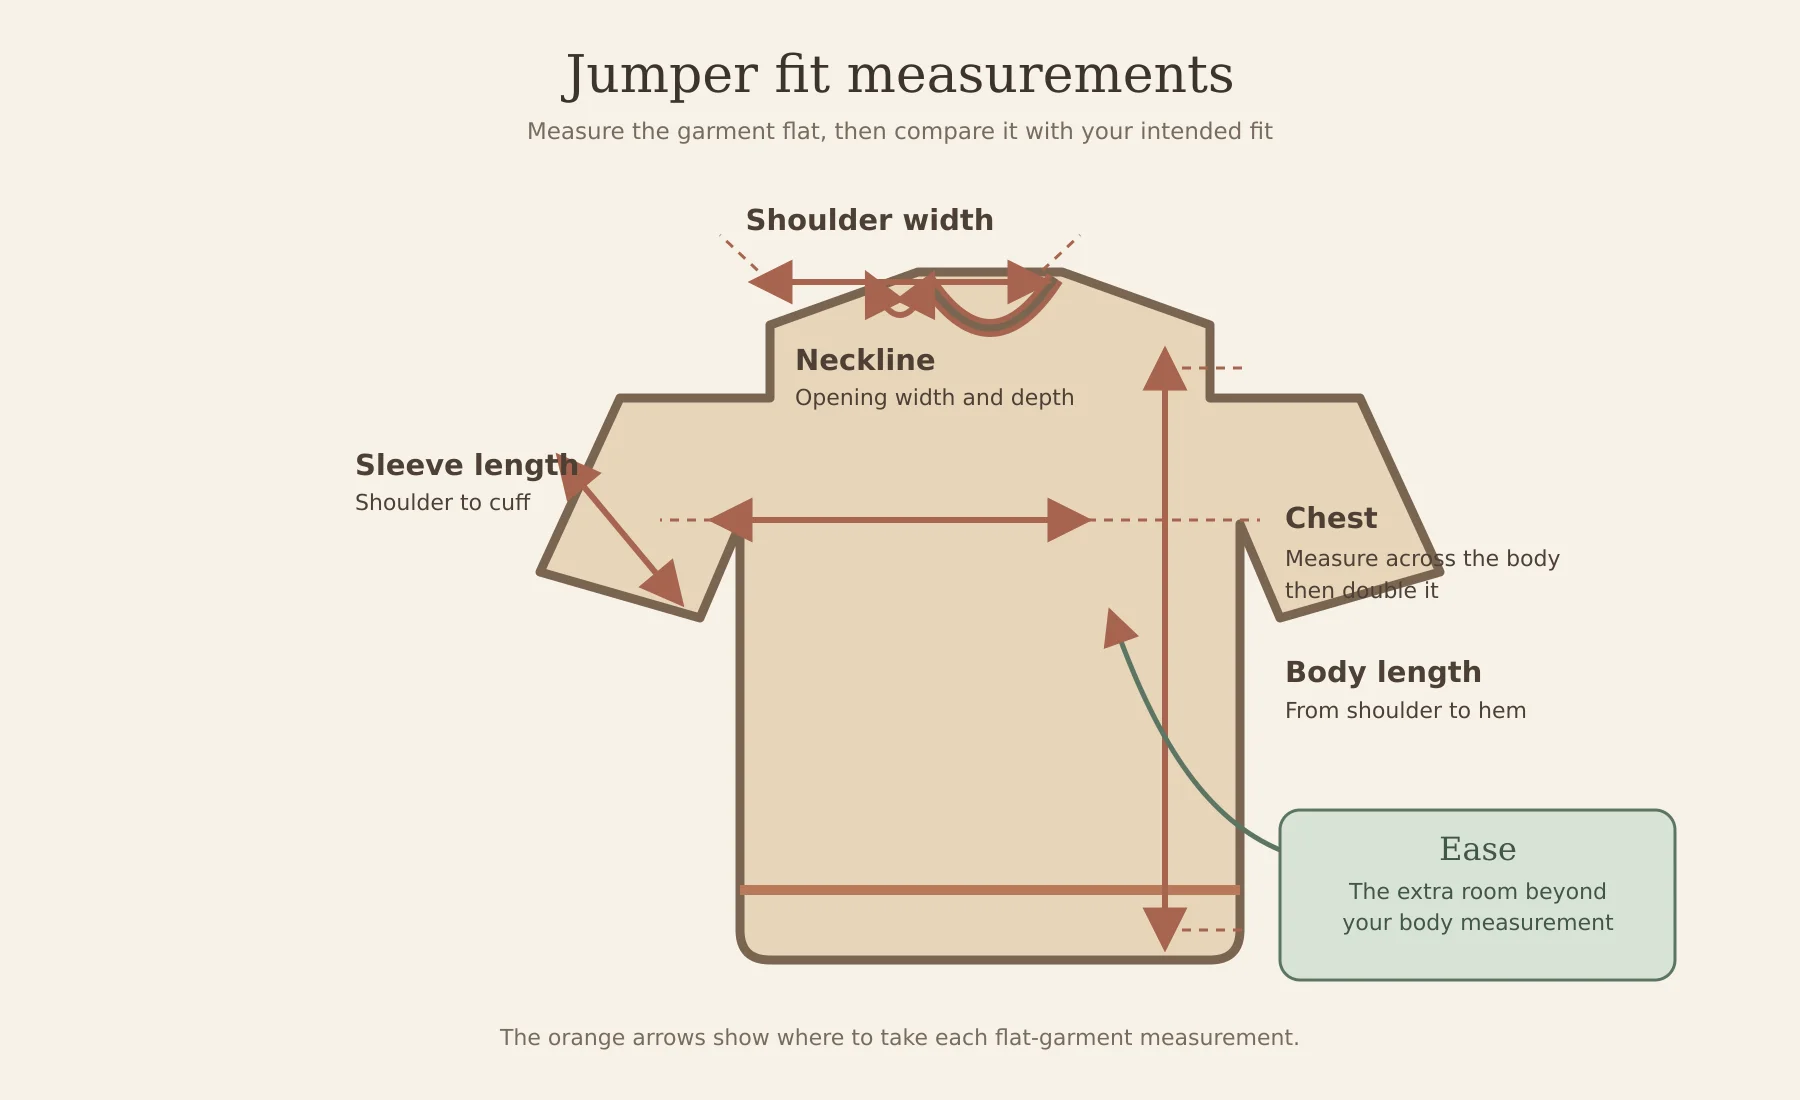
Measure the chest or bust, body length, shoulder width, upper arm, sleeve length, and preferred neckline position. Take the measurements over the type of clothing that will normally be worn beneath the jumper. Compare them with both the pattern schematic and a pullover that already fits well.
Ease is the difference between the body measurement and the finished jumper measurement. A relaxed pullover normally includes positive ease, while a close-fitting design may use little or negative ease. Follow the range recommended by the pattern because shoulder construction, yarn thickness, and stitch pattern affect how the same numerical ease feels.
Check the neck opening as well as the chest measurement. A jumper can fit correctly through the body but still be uncomfortable if the neckline is too small, the sleeve cap is too tight, or the armhole is too shallow. Select the size by finished measurements rather than only by a small, medium, or large label.
Work through the pullover
Knit the body and sleeves
Cast on the stitch count for the selected size using the method given in the pattern. Check the edge before joining work in the round, place markers accurately, and record the yarn, needle size, gauge, and any adjustments. Recount the stitches after each major shaping section.
Measure the jumper at the same locations shown in the schematic. When row gauge differs slightly, use the pattern's physical measurements where possible rather than relying only on row counts. Check matching sleeves regularly so their shaping and length remain consistent.
For colorwork, avoid pulling the unused strands tightly across the back of the fabric. The finished fabric should remain elastic enough to fit over the body and arms. Continue checking gauge because patterned sections can knit more tightly than single-color sections.
Assemble and shape
Finish the jumper
Block separate pieces to the pattern measurements and allow them to dry before assembly. Sew shoulder, sleeve, side, and underarm seams with even tension in the order specified. For a seamless jumper, close any underarm openings and reinforce areas identified by the pattern.
Add or complete the neckband carefully, checking that it lies flat and stretches sufficiently. Weave in yarn ends without creating hard areas inside the garment. Wash the completed jumper using the same method tested on the swatch and dry it in its intended shape without excessive stretching.
Store the clean jumper folded rather than leaving its weight on a hanger for extended periods. Keep the yarn label, pattern notes, and leftover yarn together so the garment can be repaired or the same adjustments can be used for another jumper.