Planning the first stitches
How to make alpaca socks
A successful pair of alpaca socks begins with a tested pattern, a durable yarn blend, and a gauge that produces a close-fitting fabric. These decisions determine how the socks will fit, feel, and withstand regular wear.
Set the requirements
Choose a sock pattern first
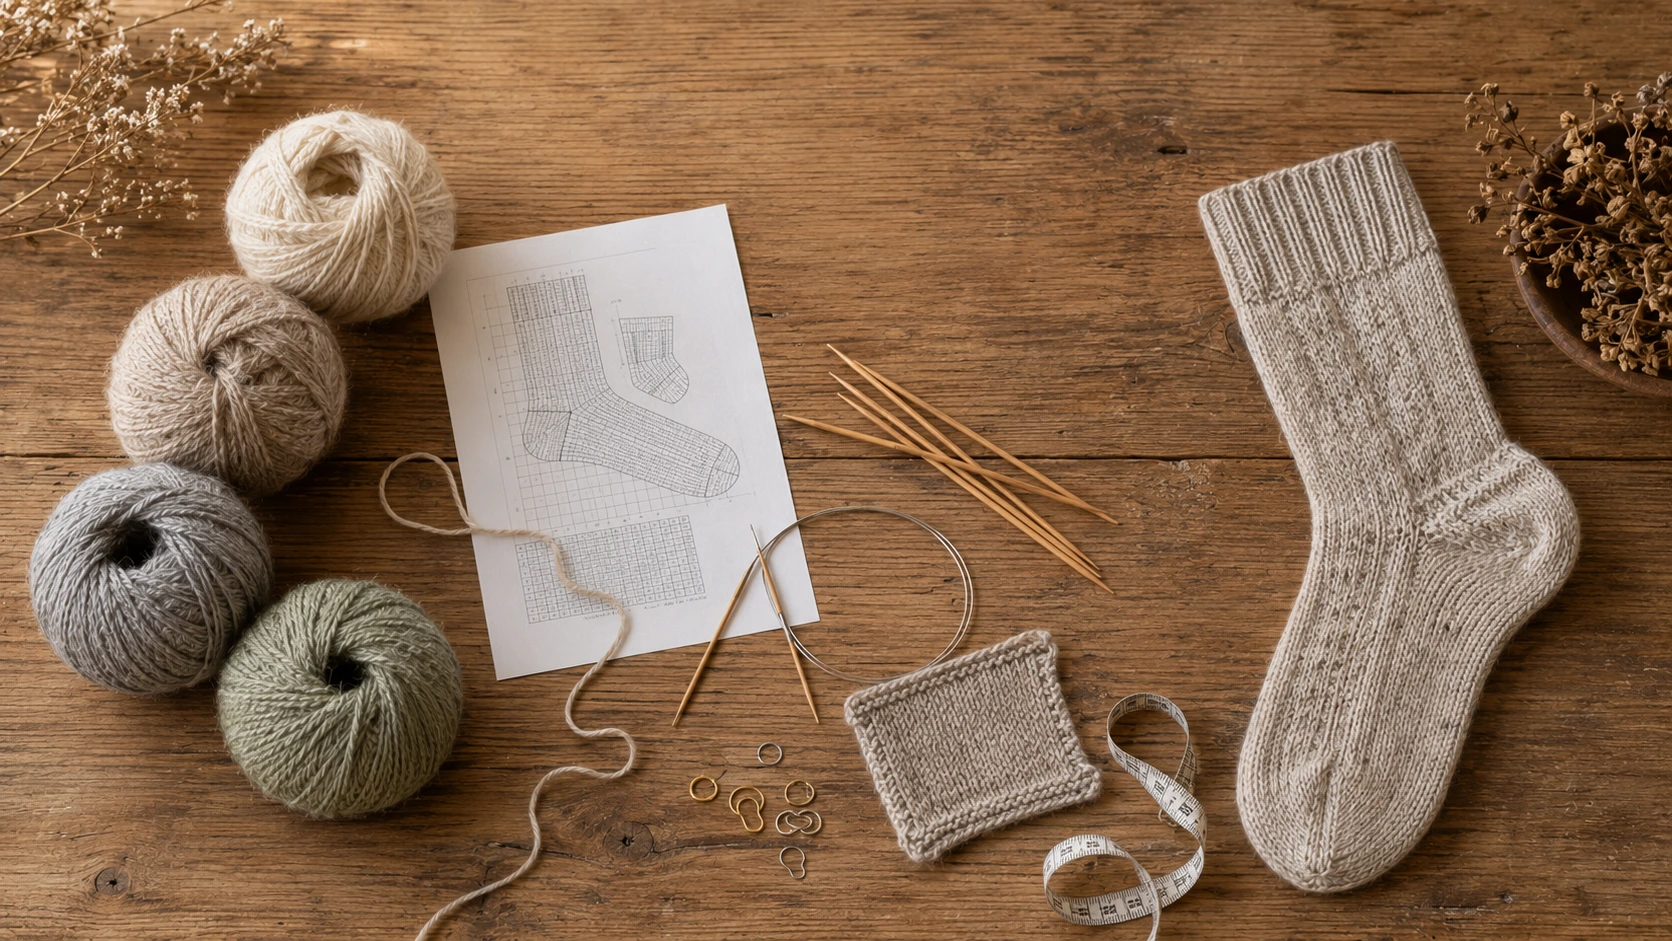
Select the pattern before buying yarn. The pattern establishes the yarn weight, approximate yardage, required gauge, available sizes, construction direction, and suggested needle size. Starting with yarn alone can leave you searching for a pattern that fits both the yarn and the intended wearer.
A pattern may be free or paid. Price is less important than complete instructions, clear sizing, consistent stitch counts, and evidence that the pattern has been tested. For a first pair, a plain stockinette sock with a clearly explained heel and toe is generally easier to follow than a design containing cables, lace, or extensive colorwork.
Before selecting a size, measure the foot around its widest point and from the back of the heel to the end of the longest toe. Follow the pattern's sizing directions rather than choosing only by shoe size, since two people who wear the same shoe size can have different foot measurements.
- Yarn weight and required yardage
- Gauge and finished measurements
- Toe-up or cuff-down construction
- Heel and toe method
- Required needles and notions
Softness with durability
Choose alpaca sock yarn
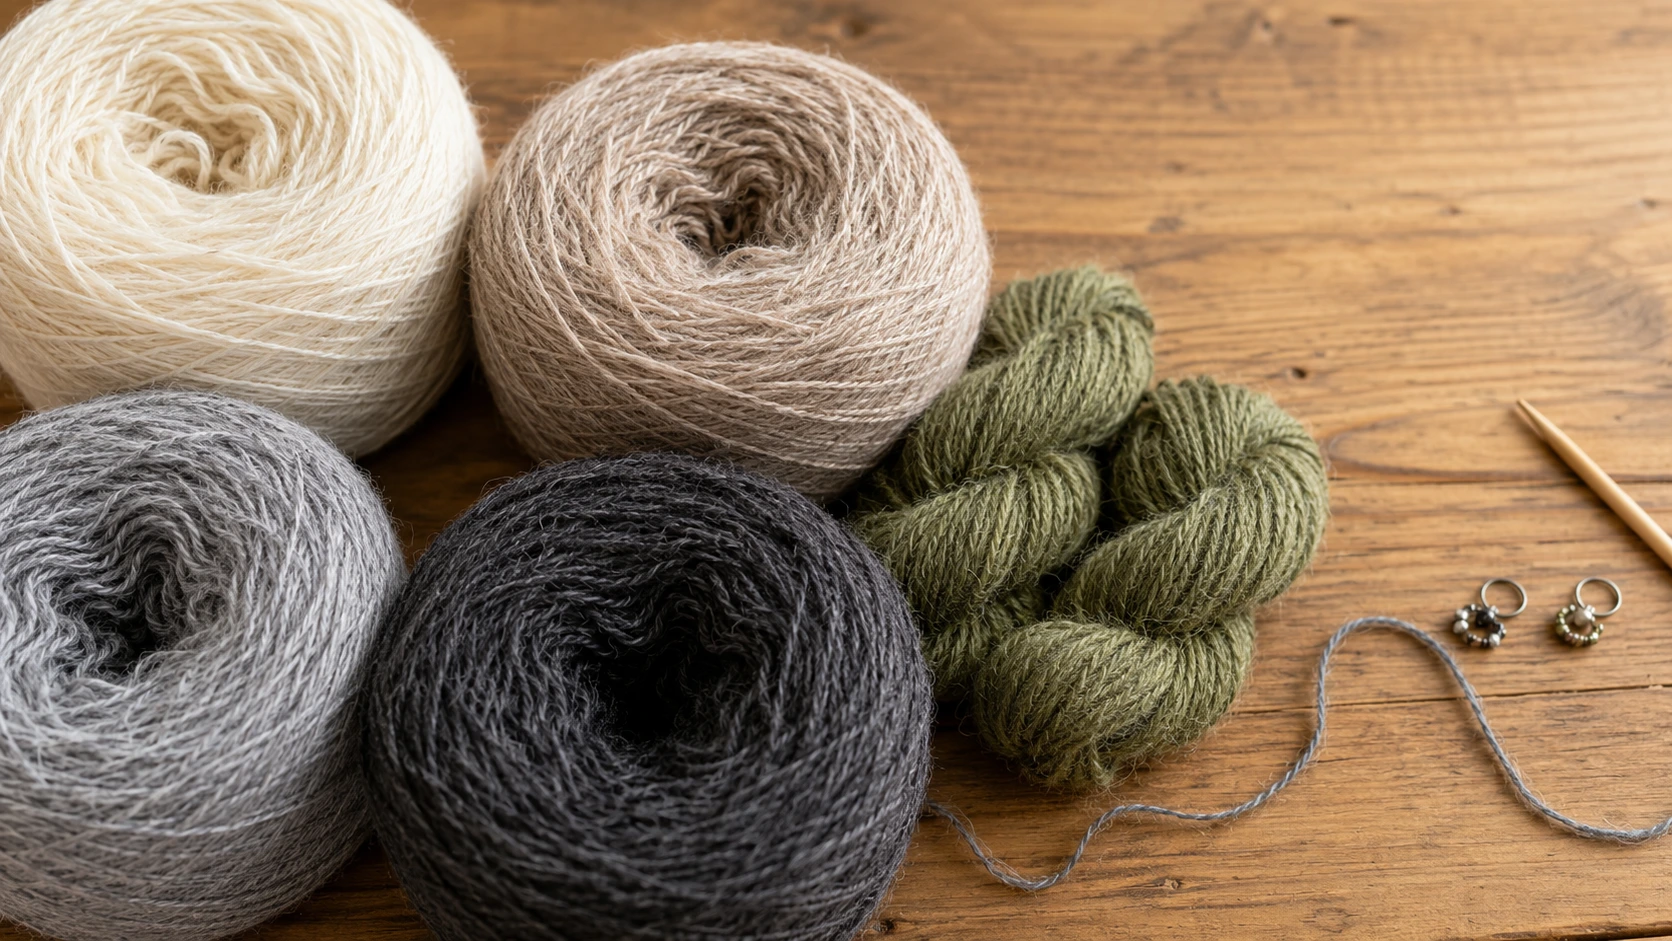
Match the yarn weight and yardage specified by the pattern. Most sock patterns use a relatively fine yarn to create fabric that fits comfortably inside a shoe, but the pattern rather than the word “sock” on a label should guide the final choice. Buy enough yarn for the selected size and, when using more than one skein, check that the dye lots match.
Pure alpaca is soft and warm, but it does not provide the same elasticity and recovery as wool and may wear quickly in high-friction areas. A practical sock yarn often combines alpaca with wool for resilience and nylon or another reinforcing fiber for durability. The exact percentages vary, so compare the fiber content with the intended use. A softly worn bed sock places different demands on yarn than a sock worn frequently inside boots.
Look for a smooth, firmly plied yarn that makes the stitches easy to see and produces a cohesive fabric. Also check the care instructions. A machine-washable blend may be convenient for everyday socks, while yarn requiring hand washing may suit a special pair. If the yarn feels unusually loose, fuzzy, or delicate in the skein, it may be better reserved for a lower-friction project such as a scarf.
Direction of work
Choose toe-up or cuff-down
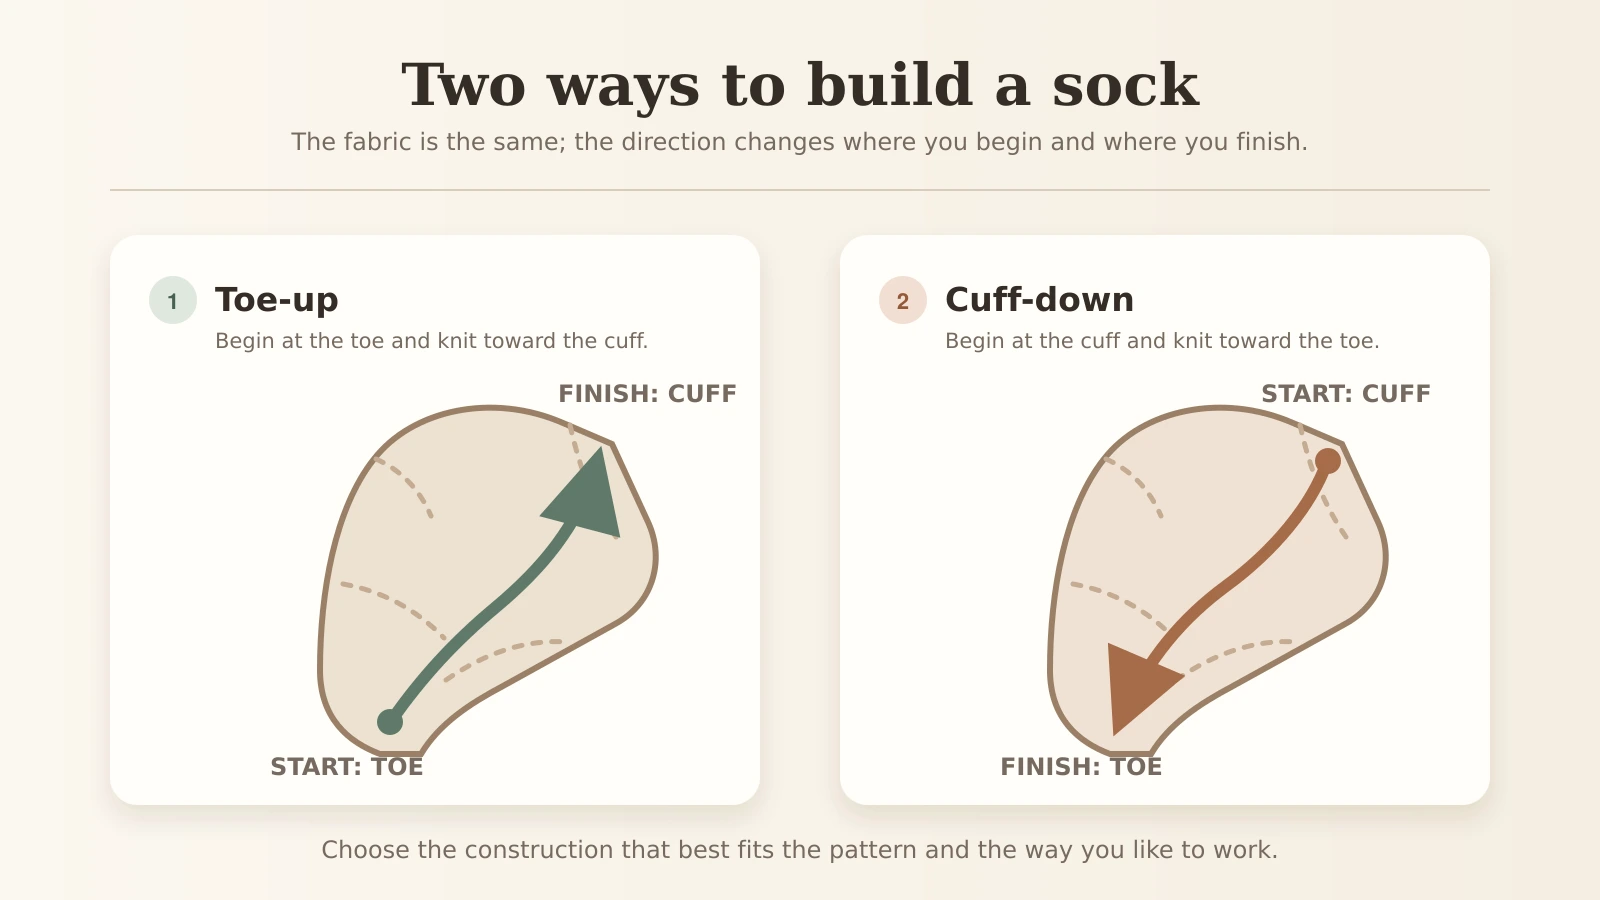
Cuff-down socks begin at the leg and proceed through the heel, foot, and toe. This approach is common in traditional sock patterns and gives the knitter a familiar elastic edge at the top. The available yarn must be monitored as the foot is worked because the toe still needs to be completed at the end.
Toe-up socks begin with a closed toe and proceed through the foot, heel, and leg. They can be tried on as the work progresses, and the leg length can be adjusted to use the available yarn. The upper edge requires a sufficiently stretchy bind-off so it can pass comfortably over the heel.
Neither direction is inherently better. For a first pair, choose the construction used by the clearest suitable pattern rather than trying to convert instructions from one direction to the other.
Working a small circumference
Choose a needle method
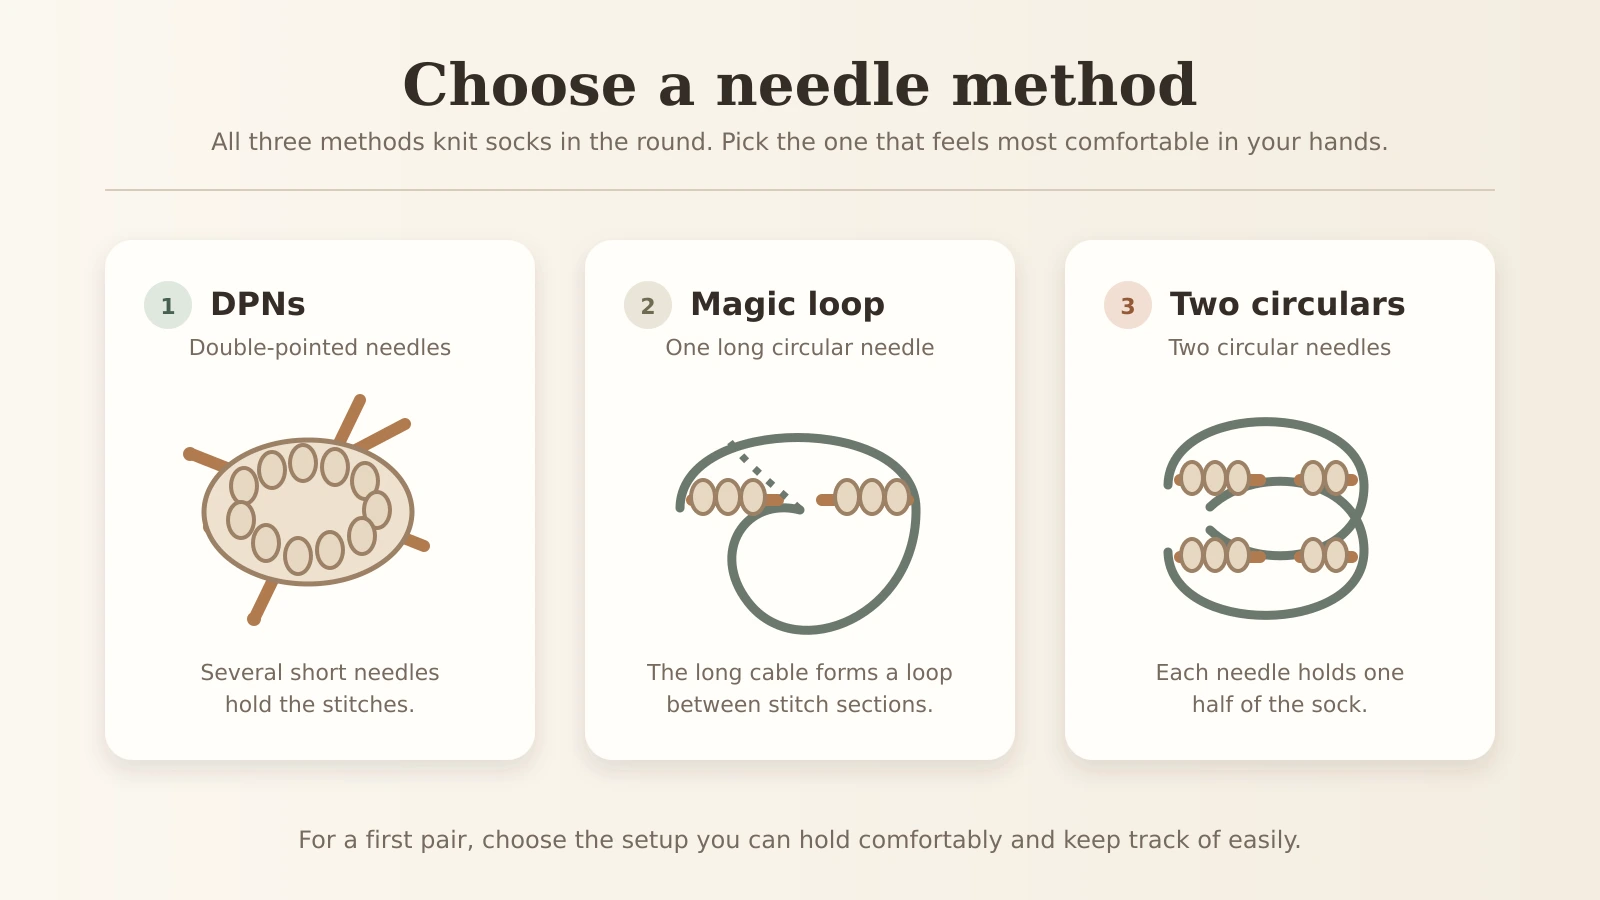
Socks are normally knitted in the round. Double-pointed needles divide the stitches among several short needles and use another needle to work across them. This method is compact and traditional, although managing several needle points can feel unfamiliar at first.
Magic loop uses one long circular needle. A loop of cable is pulled between groups of stitches so a small tube can be knitted on a much longer needle. Two circular needles divide the stitches between two separate circular needles. Both approaches reduce the number of exposed needle points, but they require attention at the transitions between stitch groups.
Use the method supported by the pattern and the one that feels most manageable. Needle size is not final until the gauge has been checked. Needle material can also affect tension: a smooth metal needle allows stitches to move readily, while wood or bamboo generally provides more grip.
Confirm the fabric
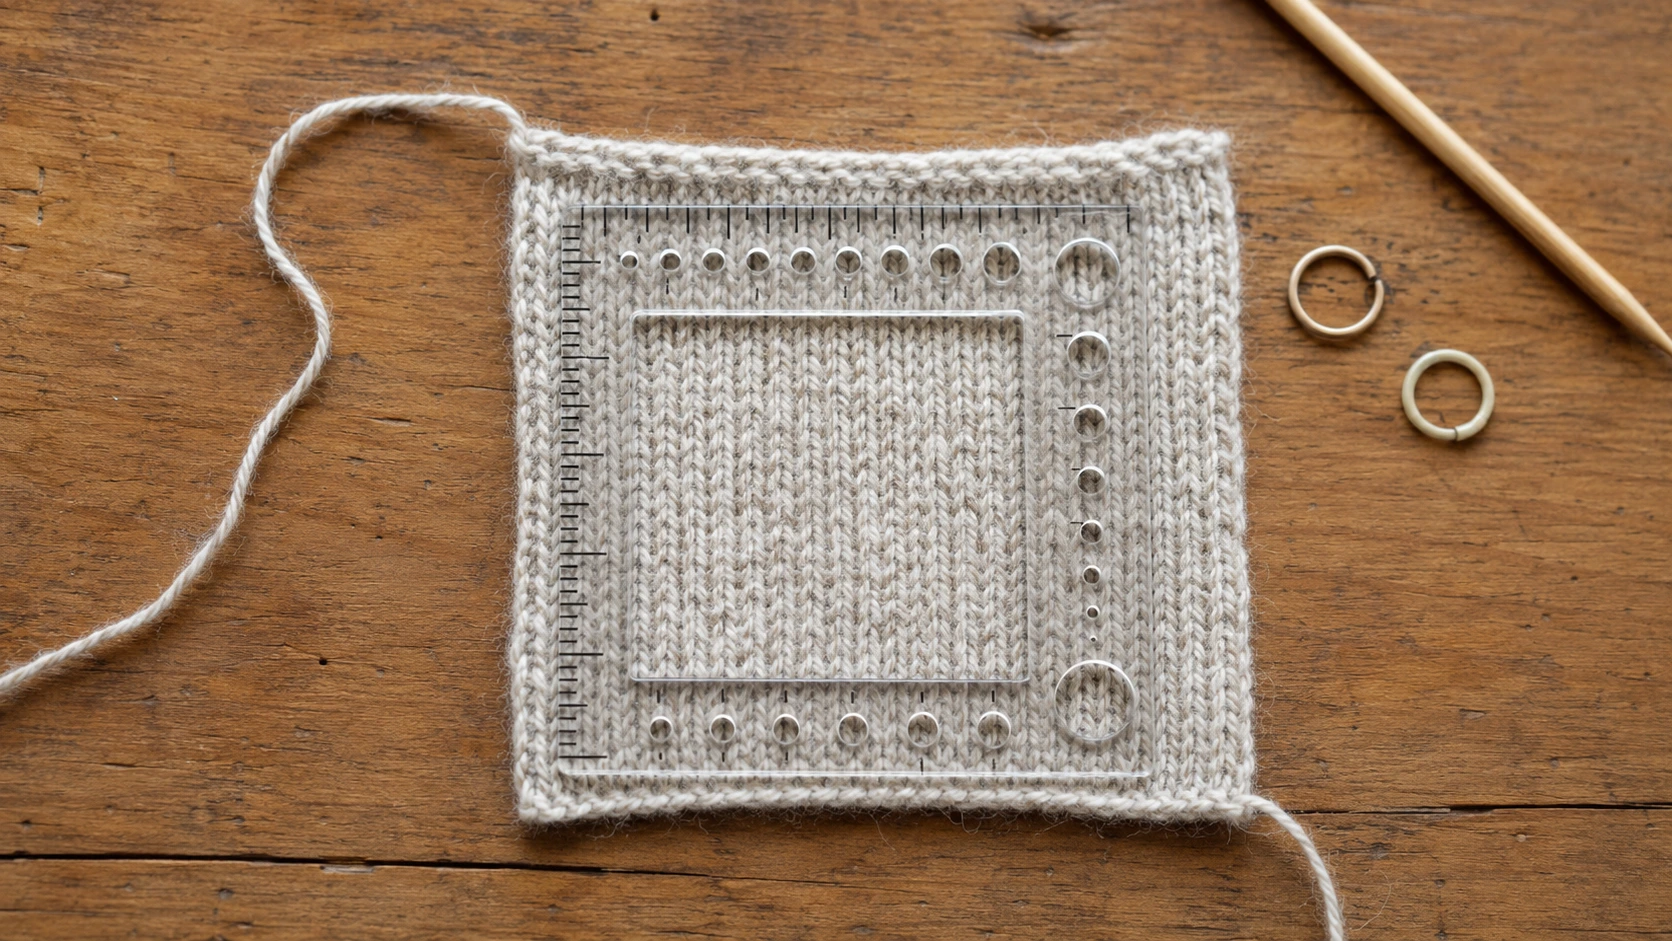
Knit and wash a gauge swatch
Gauge is the number of stitches and rows within a stated measurement, commonly four inches. Even when the recommended yarn and needle size are used, individual knitting tension can produce a different result. For socks, a small difference in stitch gauge can noticeably change the finished circumference.
Make the swatch using the stitch pattern specified for gauge. Because socks are knitted in the round, checking gauge in the round gives a more representative result than an ordinary flat swatch. The sample should be large enough to measure away from the cast-on edge and sides, where stitches can be distorted.
Wash and dry the swatch according to the yarn's care instructions before taking the final measurement. Alpaca fabric may relax after washing. If there are too few stitches within the measured width, try a smaller needle; if there are too many, try a larger needle. Repeat the swatch until the pattern gauge and a suitable fabric are achieved.
Begin the first sock
Cast on the required stitches
Once gauge is correct, use the stitch count given for the selected size. A cuff-down pattern usually calls for an elastic cast-on that stretches over the heel without becoming loose during wear. A toe-up pattern may specify a cast-on designed to create a closed, seamless-looking toe. Use the method named in the pattern because changing it can alter elasticity, appearance, or stitch count.
Arrange the stitches for double-pointed needles, magic loop, or two circular needles as directed. Before joining to work in the round, check that the cast-on edge is not twisted. Place a marker where the round begins and recount the stitches before continuing.
From this point, follow the pattern one section at a time. A cuff-down sock normally progresses through the cuff, leg, heel, foot, and toe. A toe-up sock normally progresses through the toe, foot, heel, leg, and upper edge. Record any changes made to the first sock so they can be repeated accurately for the second.
After the knitting
Finish and check the pair
Weave in the yarn ends securely without creating hard lumps inside the sock. Wash the finished pair according to the yarn label and allow it to dry in its intended shape. Avoid stretching the fabric aggressively during blocking, since a sock needs to retain its close fit.
Compare the two socks for foot length, heel placement, and leg length. Small differences can occur when the second sock is knitted at a different tension, which is why measuring at the same points and keeping notes during the first sock are useful. Store the yarn label and a small amount of leftover yarn in case a worn area needs repair later.