A manageable fiber project
How to make an alpaca scarf
A scarf is a practical project for learning how alpaca yarn behaves. The yarn, construction, stitch pattern, dimensions, and edge finish determine whether the result feels light and fluid, thick and warm, or somewhere between.
Define the finished scarf
Choose a scarf pattern
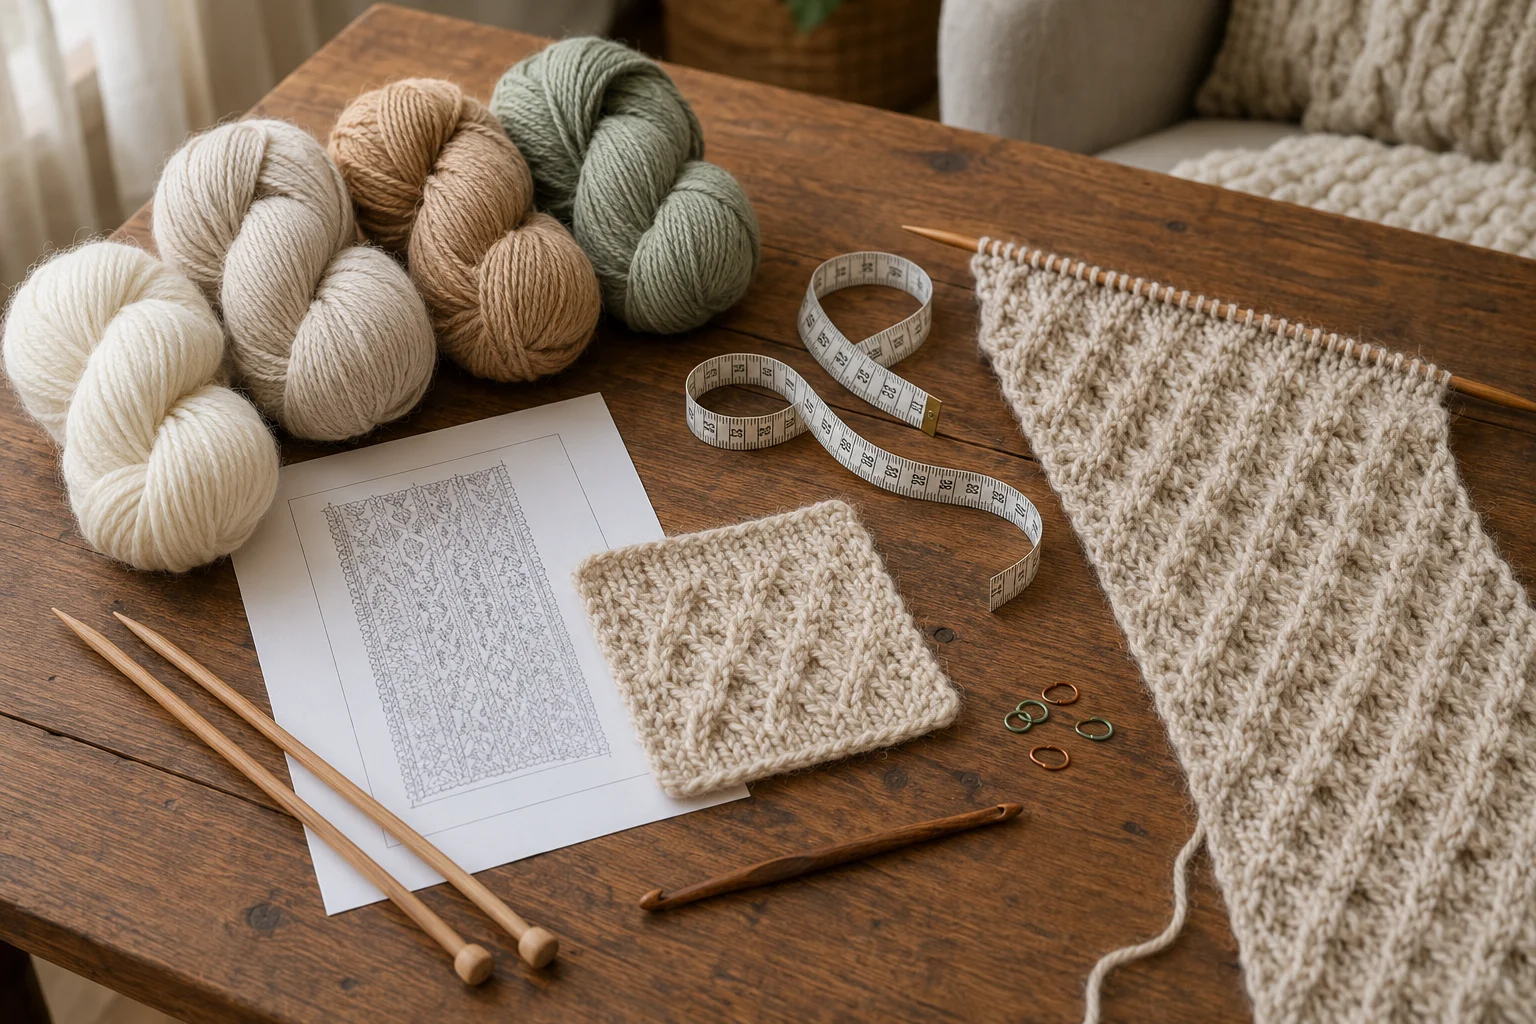
Select a pattern or write down a complete project plan before buying yarn. The plan should identify the construction method, finished width and length, yarn weight, gauge or woven sett, stitch or weave structure, approximate yardage, and edge treatment. Fringe and tassels should be included when estimating yarn.
A scarf can be a useful first project because it does not require garment shaping, but the fabric still needs planning. A design that repeats over a small number of stitches is easier to resize and check than one with complicated lace, cables, color changes, or multiple motifs.
Read the full instructions before beginning and make sure both sides of the fabric are acceptable. Scarves turn and fold during wear, so the reverse side remains visible. Patterns that curl sharply, create stiff edges, or leave long loose strands on the back may not suit the intended scarf.
- Finished width and length
- Yarn weight and required yardage
- Knitted, crocheted, or woven construction
- Gauge, sett, or pattern repeat
- Plain edge, fringe, or tassels
Softness close to the neck
Choose alpaca scarf yarn
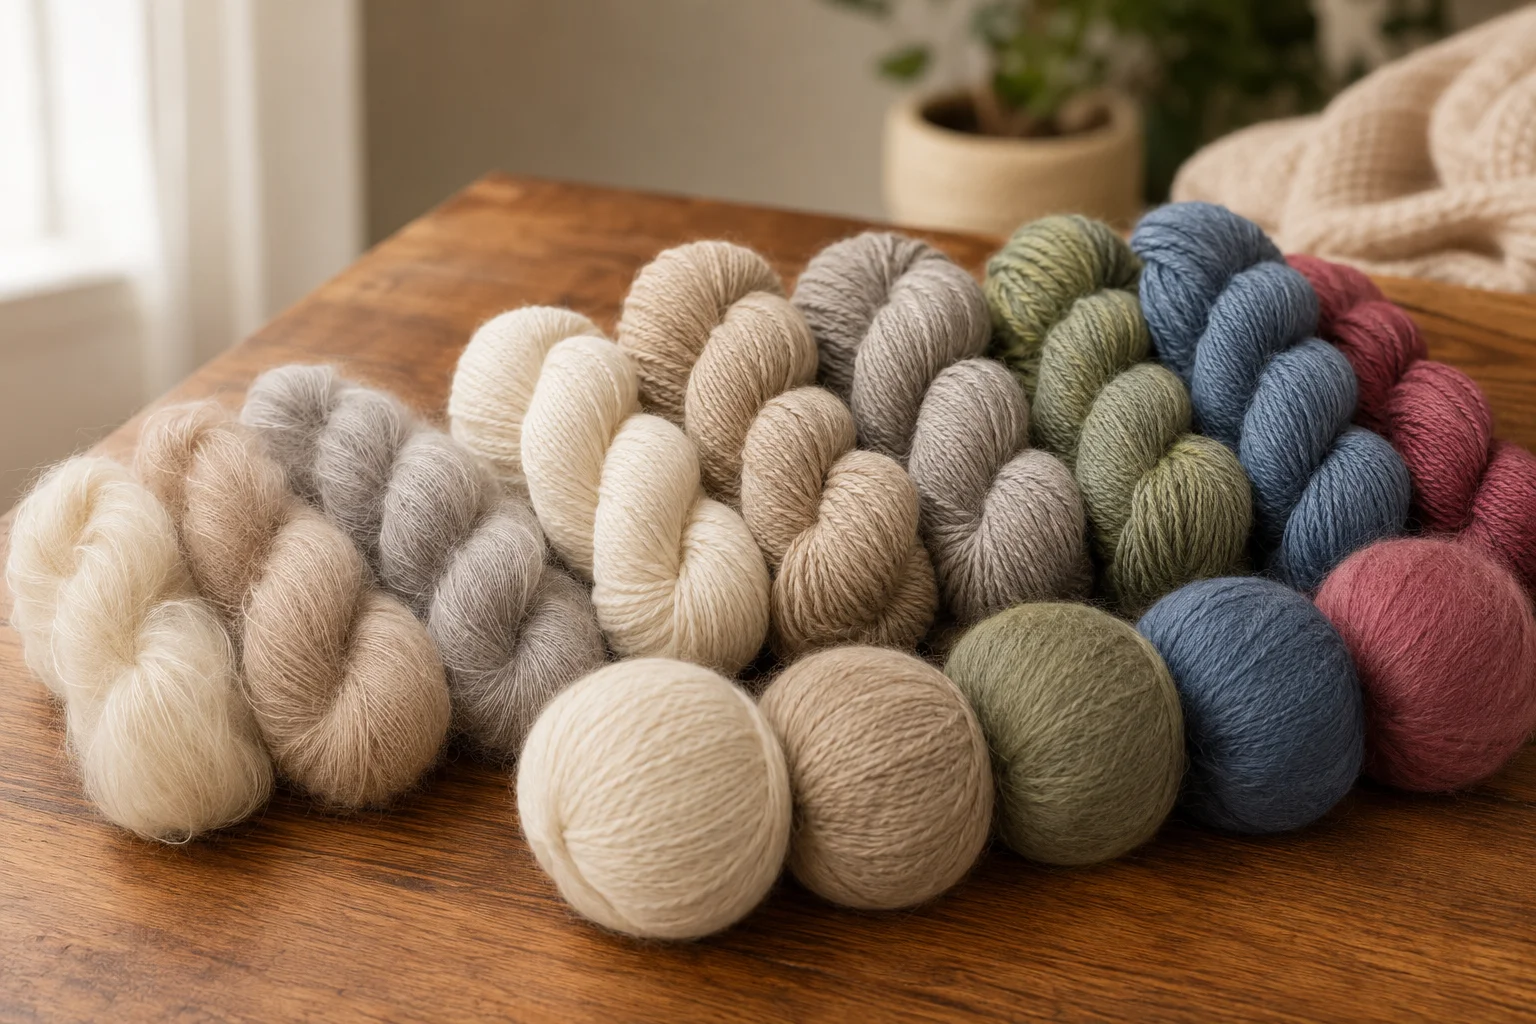
A scarf does not experience the same abrasion as a sock or bear the same weight as a large sweater, so softness, warmth, and drape can receive greater emphasis. Pure alpaca may suit the project well, while a blend containing wool can add elasticity and structure. The correct choice depends on whether the finished scarf should feel flowing, firm, lightweight, or substantial.
Hold the yarn or washed sample against the neck before committing to a large project. A yarn that feels comfortable in the hand may feel different against more sensitive skin. Fine yarn can create a light scarf or detailed fabric, while medium and heavier yarns create thickness more quickly but may become warmer and bulkier than expected.
Natural fleece colors work well alone or in stripes and other simple combinations, while dyed yarn provides a broader palette. Some alpaca farms sell yarn in quantities suitable for scarves and may provide information about the fiber, processing, yarn weight, natural color, and care. Buy enough from one dye lot or production batch to complete the project and any planned fringe.
How the fabric is formed
Choose a construction method
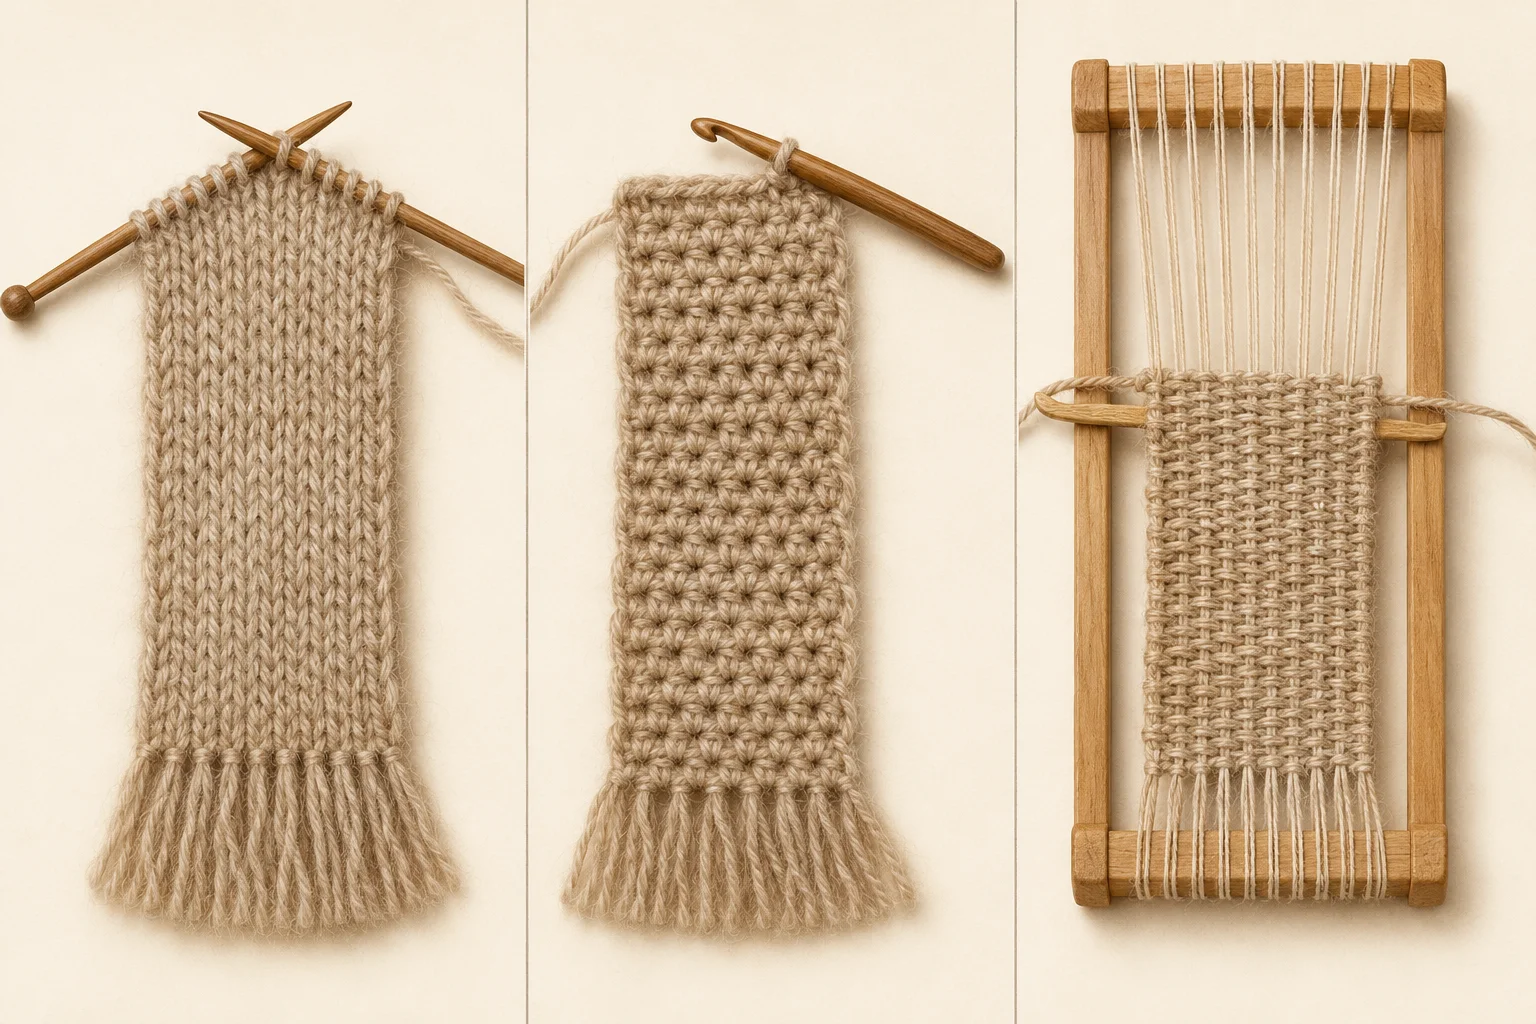
A knitted scarf is usually worked flat in rows from one short end to the other. Needle size and stitch pattern control the fabric's density and drape. Balanced textures such as garter stitch or seed stitch tend to lie flatter than plain stockinette, which normally curls unless it is combined with a suitable border or construction.
A crocheted scarf is made with a hook and can range from open lace to dense textured fabric. Hook size, stitch height, and fiber thickness strongly affect weight and flexibility, so the pattern's material estimate and a washed sample should guide the yarn purchase.
A woven scarf is formed from warp and weft on a loom. A narrow rigid-heddle or other suitable loom can produce a complete scarf in one width. The warp yarn must tolerate tension and abrasion during weaving, while the weft can sometimes place greater emphasis on softness and visual texture.
Set the proportions
Choose the width and length
An adult scarf is often approximately 6 to 10 inches wide and 60 to 72 inches long, but these are planning ranges rather than fixed standards. The wearer's height, preferred wrapping style, yarn thickness, pattern repeat, and amount of fringe should determine the final dimensions.
A narrow scarf can feel lighter and fit easily beneath a coat. A wider scarf provides more coverage but can become bulky when made from thick, warm yarn. A short scarf may be intended to cross once at the neck, while a longer scarf can wrap around the neck or hang farther down the body.
Measure the main fabric separately from fringe or tassels so their length does not unintentionally replace usable scarf length. When resizing a pattern, maintain the full stitch or weave repeat and recalculate the yarn requirement rather than assuming the original amount will be sufficient.
Check the fabric first
Make and wash a sample
Make a sample using the intended yarn, tools, colors, and stitch or weave structure. The sample should be large enough to judge drape, warmth, opacity, edge behavior, and pattern definition. If the design contains several sections, sample the important textures or color combinations together.
Wash and dry the sample according to the yarn label before taking final measurements. Alpaca fabric can relax after washing, and lace or openwork may spread noticeably during gentle blocking. For weaving, record measurements both before and after removing the sample from loom tension and after washing.
Handle the sample as the scarf will be worn. Fold it, wrap it loosely against the neck, and check whether the fabric feels comfortable rather than stiff, scratchy, excessively warm, or too delicate. Adjust the needle, hook, sett, yarn, or pattern before starting the full scarf.
Control texture and drape
Choose the stitch pattern
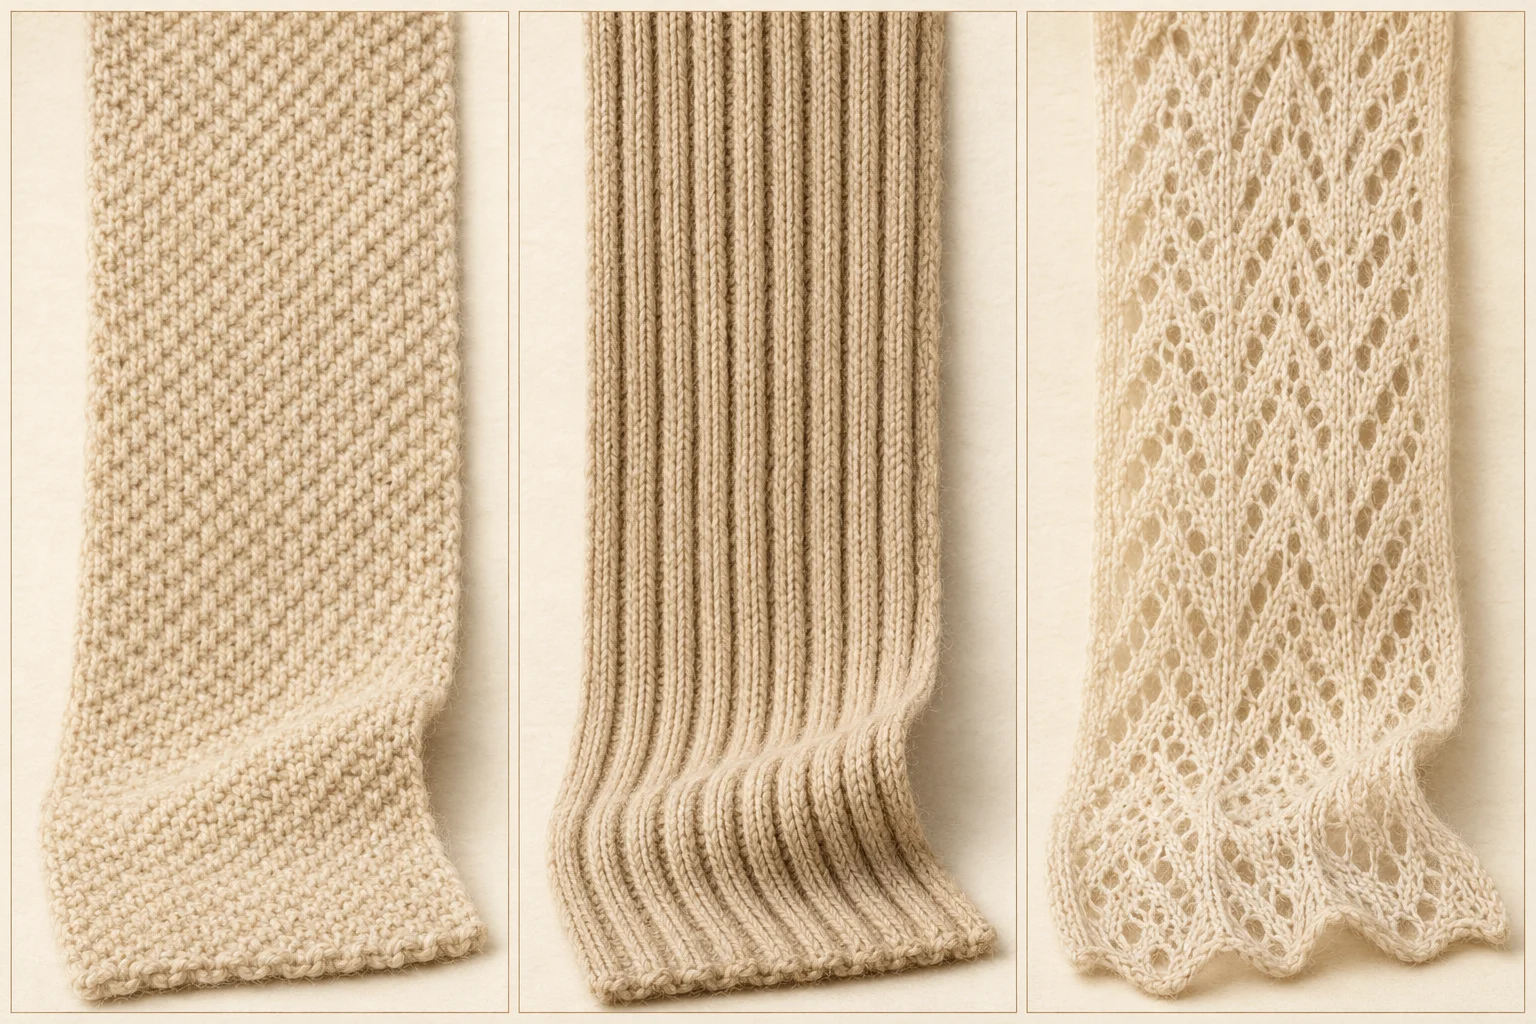
Simple textured stitches create visual interest while producing fabric that looks finished on both sides. Garter stitch, seed stitch, and related textures can be practical for a first knitted scarf because they lie relatively flat and make it easy to count rows and identify mistakes.
Ribbing creates vertical lines and pulls the fabric inward. It can produce a warm, flexible scarf, but the finished width should be measured without stretching the ribbing. A wider cast-on may be needed to reach the intended relaxed width.
Lace and openwork reduce density and allow a fine yarn to create a light, decorative scarf. A yarn with a pronounced halo can soften or obscure small lace details, while a smoother yarn may show the structure more clearly. Follow the pattern carefully and use markers or repeat counts where helpful.
Maintain even fabric
Make the scarf
Cast on, begin crocheting, or prepare the loom according to the selected pattern. Count the starting stitches or warp ends carefully, place markers between repeats where useful, and check the width after enough fabric has been made to measure accurately.
Keep the side edges consistent without pulling the first or last stitch excessively tight. Measure the length at regular intervals and record repeats, color changes, and corrections. Work the final pattern section until the main fabric reaches its planned length before adding fringe or tassels.
For a knitted or crocheted scarf, finish the final edge with tension similar to the starting edge so the two ends have compatible width and stretch. For a woven scarf, secure the weft before removing the work from the loom and preserve enough warp length for the planned hem or fringe.
Complete both ends
Finish the edges
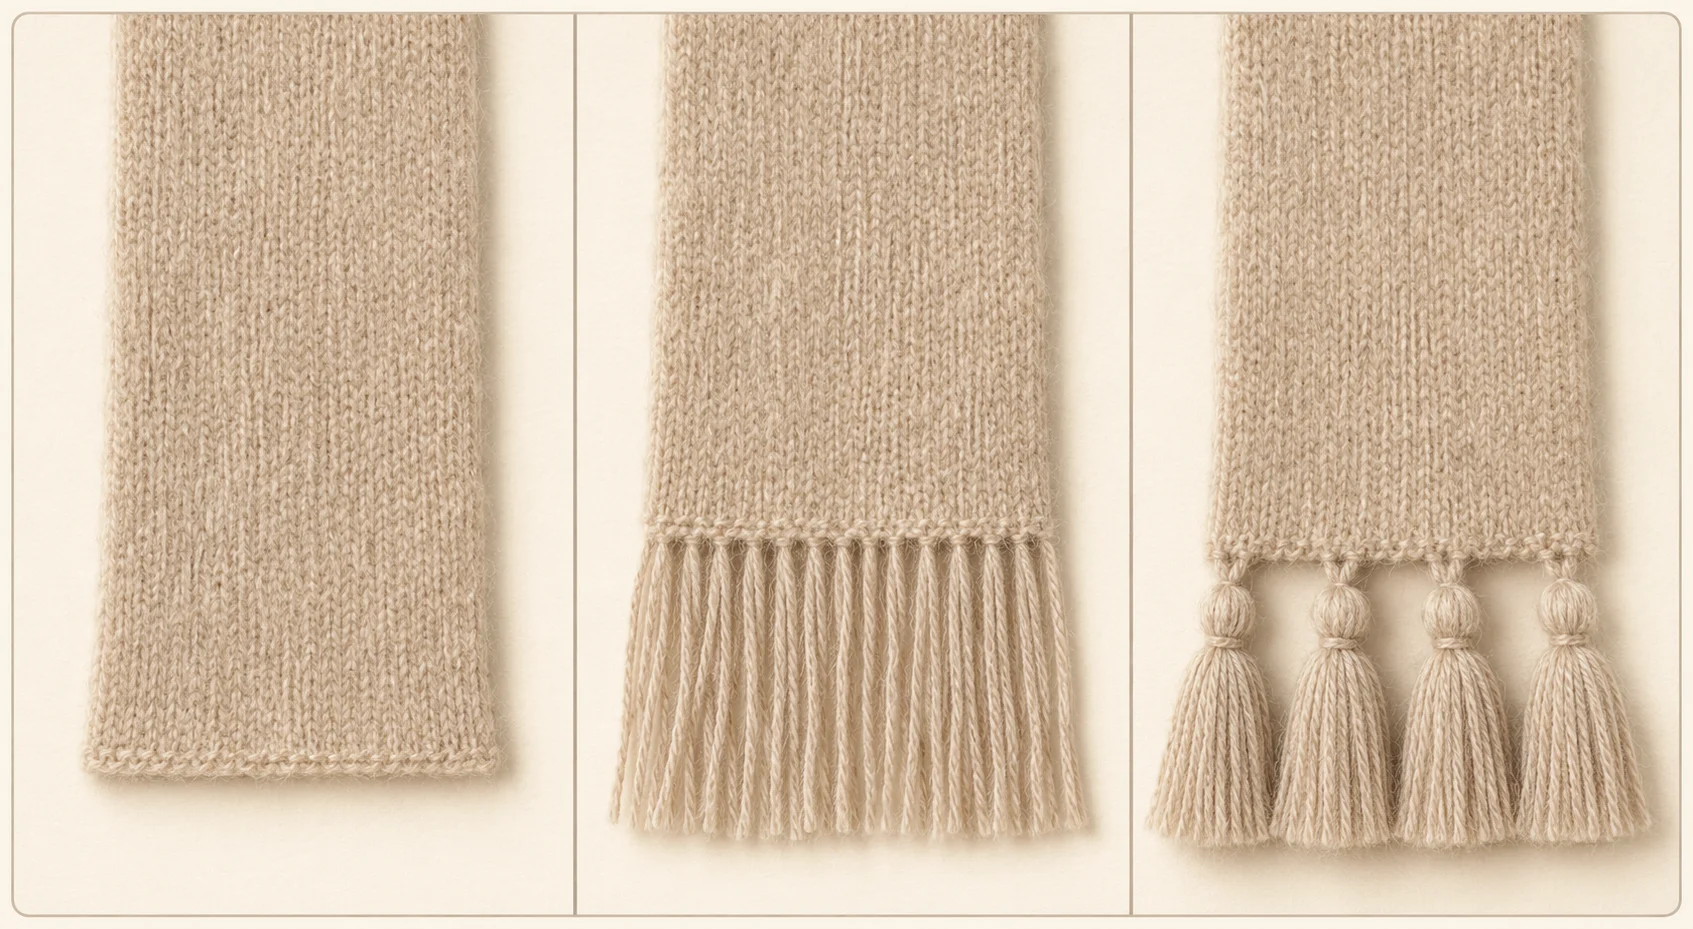
A plain finished edge keeps attention on the fabric and is usually the easiest treatment to maintain. Match the starting and ending edges as closely as possible in width and elasticity, and weave yarn ends into the fabric without creating stiff or bulky areas.
Fringe can be added in evenly spaced groups or formed from the warp ends of a woven scarf. Decide the finished fringe length before cutting the strands, allowing extra length for knots and final trimming. Secure every group consistently so the fringe does not work loose during wear.
Tassels create a more concentrated decorative finish and add weight at selected points. Attach them firmly and check that their size suits the scarf rather than pulling a light fabric out of shape. Trim fringe or tassels only after the scarf has been washed, dried, and arranged in its final shape.
After the project
Wash and store the scarf
Wash the completed scarf using the method tested on the sample and supported by the yarn label. Handle wet fabric with support, arrange it to the planned dimensions, straighten the edges, and allow it to dry completely before wearing or storing it.
Store the scarf clean and dry, with fringe or tassels arranged so they do not remain crushed or tangled. Keep the yarn label, project notes, and a small amount of leftover yarn for later care reference or repairs.